Showing posts with label Lawn Fawn. Show all posts

Sunday, May 2, 2021

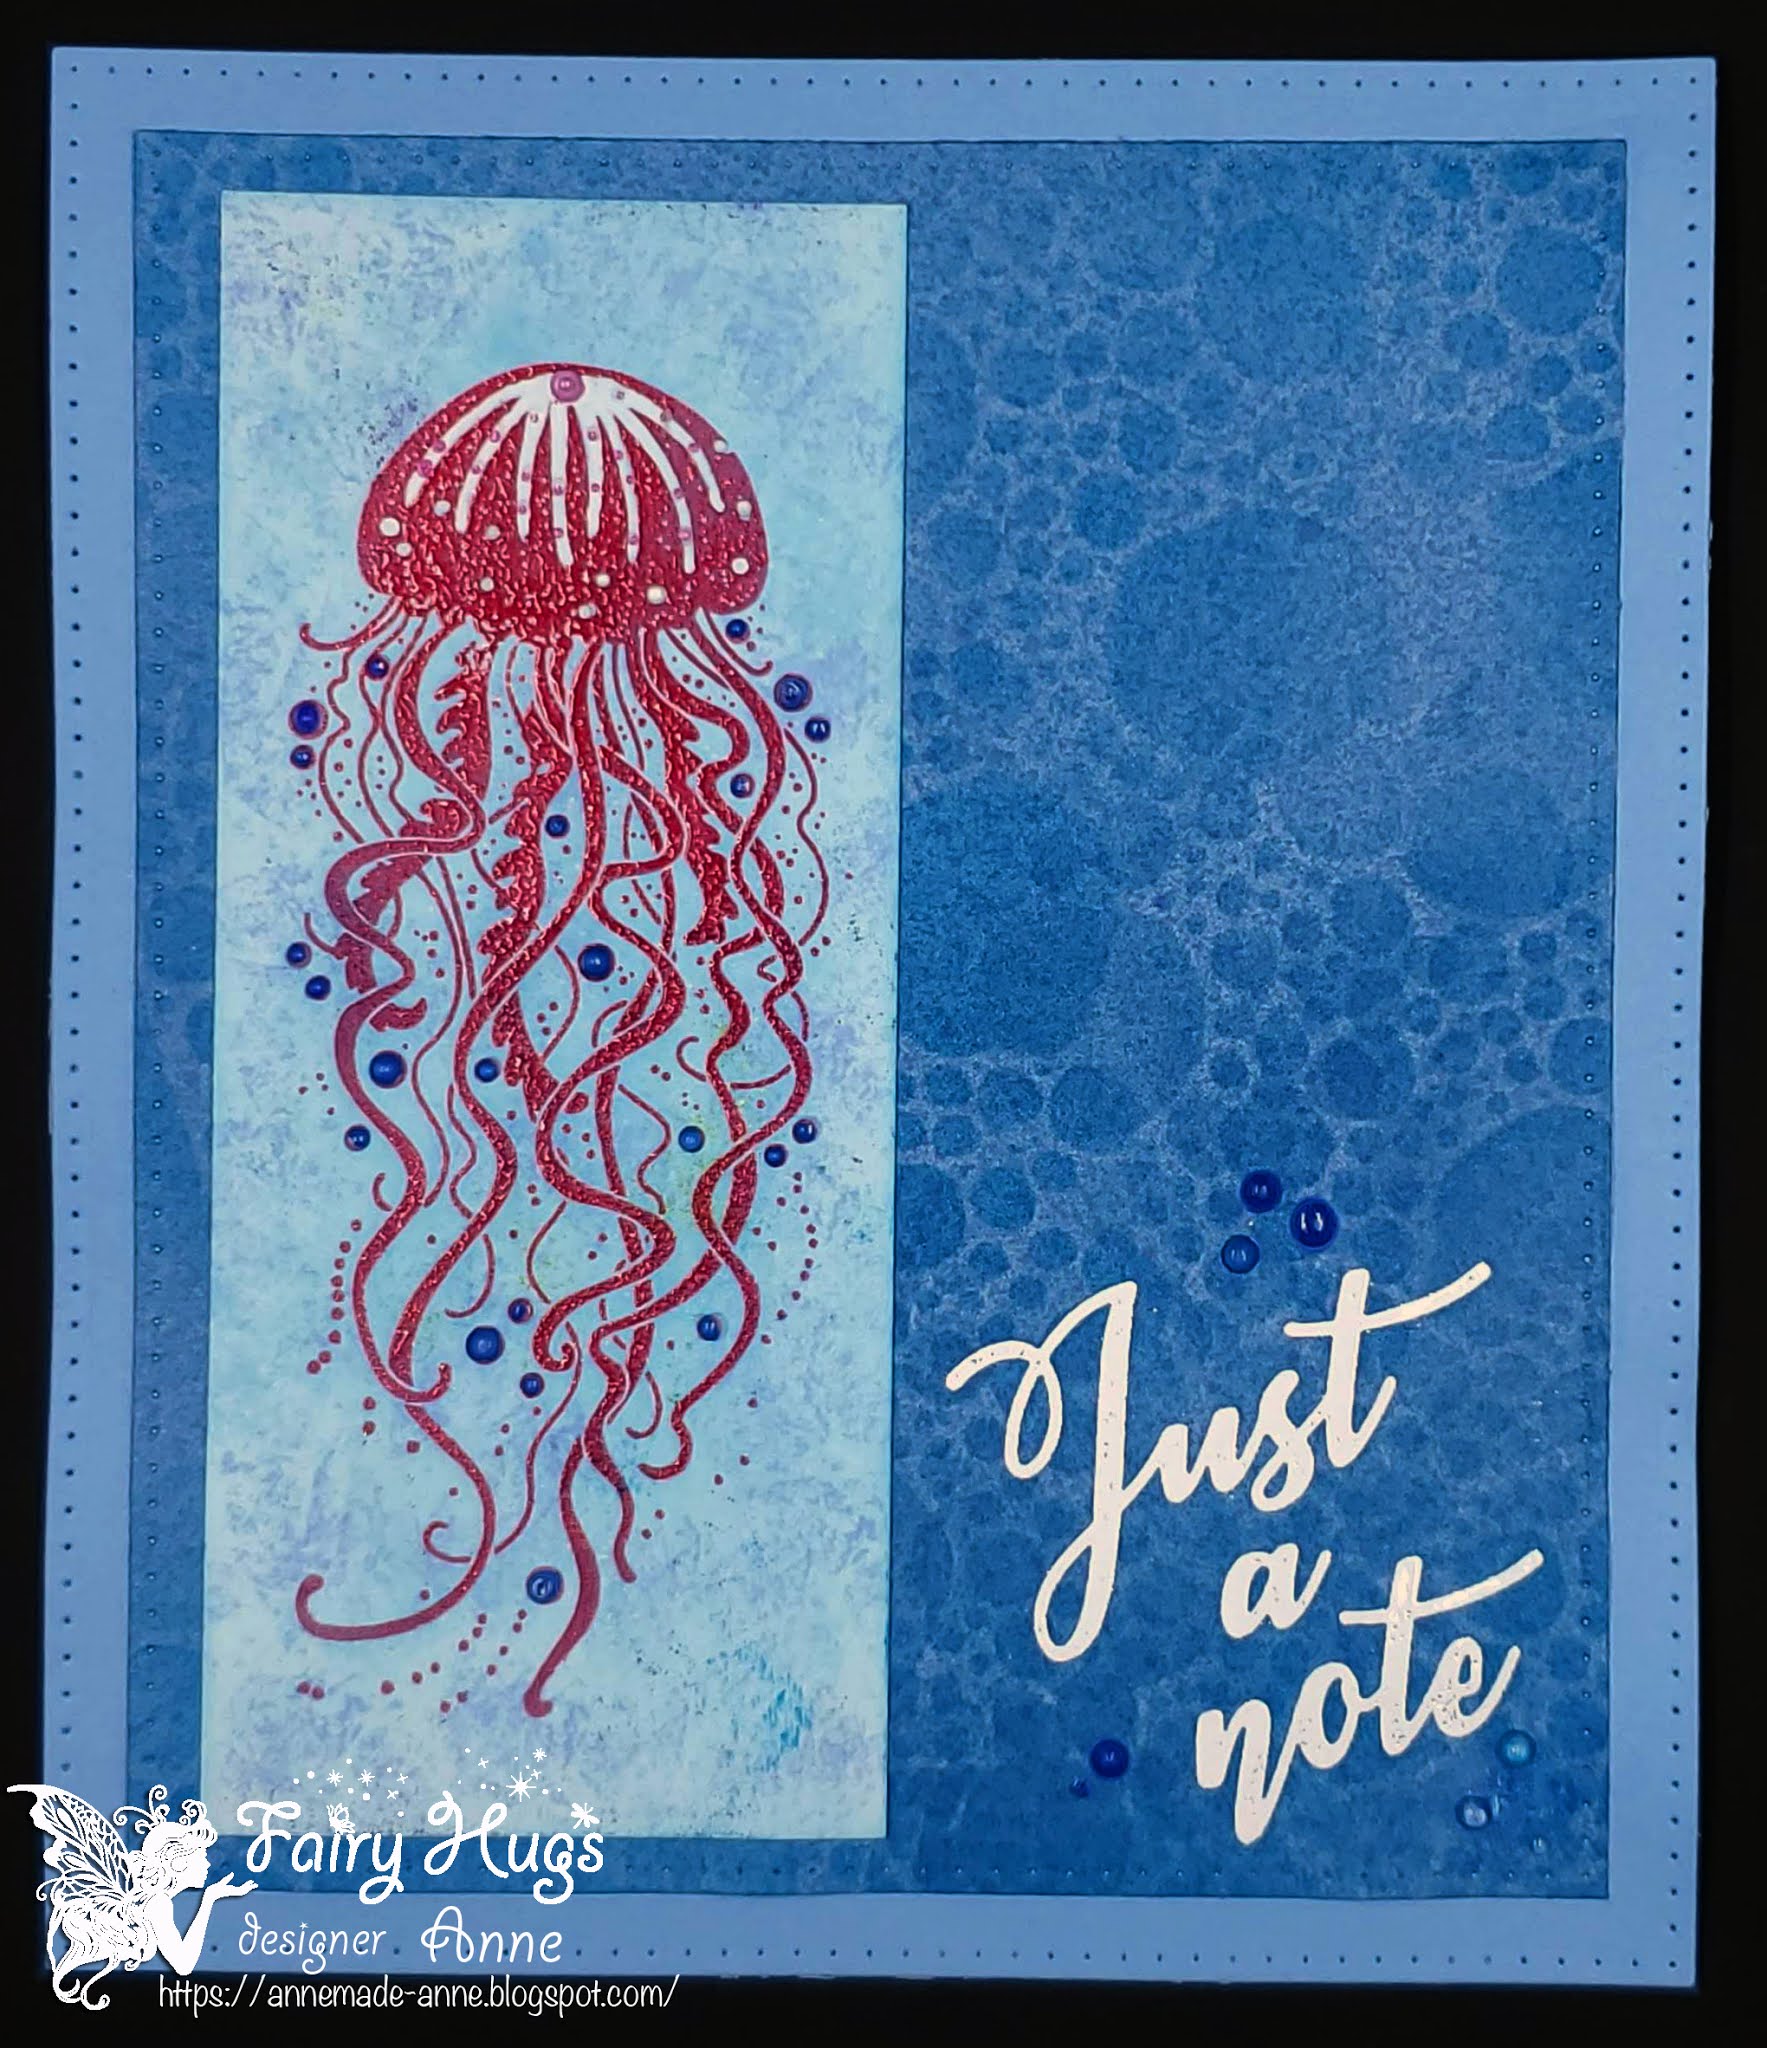
Fairy Hugs and The Craft Store

Fairy Hugs stamps are having their May New Release showcased at The Craft Store for several shows and featured as a One Day Special.  There are 5 shows today, May 2 at 1pm, 3pm, 5pm, 8pm, and 11pm Eastern time and 4 more shows on Monday, May 3 at 1am, 3am, 7am, and 11am Eastern time.  If you can't catch the shows live, then you can catch them any time during the next 60 days.

Here are the projects I created for the May release.

Interactive card using Lawn Fawn die set (Coaster Critters Slide On Over Add On)
Marina - FHS-150
Shell Door - FHS-149
Treasure Chest - FHS146
Anchor - FHS-142
Teeny Ocean Icons - FHS-157
Wiggles - FHS-154
Ivy Seaweed - FHS-161
Twisted Seaweed - FHS-163
Debth - FHS-167

Interactive card using Lawn Fawn die set (Coaster Critters Slide On Over Add On)
Marina - FHS-150
Shell Door - FHS-149
Treasure Chest - FHS146
Anchor - FHS-142
Teeny Ocean Icons - FHS-157
Wiggles - FHS-154
Ivy Seaweed - FHS-161
Twisted Seaweed - FHS-163
Debth - FHS-167

Chess Mushrooms - FHS-160
Mermaid Door - FHS-148
Frilly Seaweed - FHS-156
Shower Mushroom - FHS-162
Rock FOrmation - FHS - 143
Fan Plants - FHS-155
Fairy Hugs Background papers

Doria - FHS-151
Sandy - FHS-153
Treasure - FHS-165
Fairy Hugs Background papers

Fan Coral - FHS-144
Jester Mushrooms - FHS-159
Shell Door - FHS-149
Sea Quote - FHS-164
Rope Net - FHS-145

Row Boat - FHS-147
Treasure Chest - FHS-140
Anchor - FHS-142
Treasure - FHS-165
Fairy Hugs Stencil - Galaxy

Malila - FHS-152
Row Boat - FHS-141
Fairy Hugs Background papers

Tentacles - FHS-147
Fish School - FHS-158

Doria - FHS-151
Shower Mushroom - FSH-162
Fan Coral - FHS-144
Debth - FHS-167

Fish School - FHS-158
Frilly Seaweed - FHS-156
Teeny Ocean Icons - FHS-157
Rock Formation - FHS-143

Jester Mushrooms - FHS-159
Marina - FHS-150
Chess Mushrooms - FHS-160
Rope Net - FHS-145
Mermaid Door - FHS-148
Fairy Hugs Background papers

Sandy - FHS-153
Wisdom - FHS-131
Fairy Hugs Backgrounds papers

Serenity - FHS-166
Marina - FHS-150
Teeny Ocean Icons - FHS-157

Sea Quote - FHS-164
Fan Plant - FHS-155
Rope Net - FHS-145

Malila - FHS-152
Twisted Seaweed - FHS-163
About You - FHS-129
Rocks - FHS116

Wiggles - FHS-154
Just A Note - FHS-137
Fairy Hugs Stencil - Pebble Beach

Tentacles - FHS-147
Serenity - FHS-166


Until next time....


Sunday, April 11, 2021

Pet Bridge {Fairy Stamper}


Hey everyone, today it is my turn to share a project with the Fairy Stamper Hugs Facebook group and I've used the Bridge (FHS-039) stamp image in a non-traditional fairyland way. Instead I created a sympathy card for a dear friend whose pup went over the Rainbow Bridge.

For today's project I used the Bridge by Fairy Hugs stamps. You can find all of these at Fairy Stamper: 


I stamped the image onto white cardstock and then fussy cut it out. Color was added using colored pencils.  The rest of the card uses die cuts from My Favorite Things (Clouds, Paw Prints) and Lawn Fawn (Rainbow).

We'd love for you to join us in the Fairy Stamper Hugs Facebook group for lots of amazing inspiration from both the Design Team as well as the amazing projects shared by our members. Once you're there,  join in on the Fairy Stamper challenge every other Thursady for a chance to win a $15 gift code to Fairy Stamper.


Until next time,

Thursday, December 17, 2020

Christmas {DRU Inspiration}

  (This is my second post for today. Please scroll down to see my Lavinia World project.)


Hey everyone!  Can you believe Christmas is next week!!! I'm not quite ready, so I'm rushing around getting all my last minute things together (like one more Christmas card 😆).

For this project, I used the following products:

Lawn Fawn: Shadow Box Card Fireplace Add-On (these would also work)
Spellbinders: Christmas Tree (any of these would work well)
Memory Box: Special Merry Christmas (many of these would work well)
Fairy Hugs: Stone Wall
Fairy Hugs Glitter Powder: Shamrock
Fairy Hugs Glitter Powder: Sunshine

Unfortunately, all of the specific dies I used for this card are now out of stock due to their popularity; however, I've linked many other options that would work as well.  I would suggest signing up for the newsletter and purchase the dies you like as soon as you see them available. 

To start off, I die cut every thing out of white cardstock and then proceeded to color the individual die cuts with either Distress Inks, Altenew inks, or Copic markers.


My card is a standard A2 size, so the front panel is 4" x 5.25".  I ran this through a Crafters Companion embossing folder (Stone Wall) to give a light amount of texture to the background.  Although it doesn't show up very well in the photo, you can see it quite well in person. 

Then I began coloring and assembling the individual pieces and adhered them to the front panel.

For the fireplace itself, I stamped the Fairy Hugs Stone Wall onto the die cut to give it the looks of stones.  I added dimensional strips behind the fireplace surround and mantel for added dimension.

I added Fairy Hugs Sunshine glitter powder to the star on the Christmas Tree die cut and added Nuvo Glitter Drops (Ruby Slipper) for my ornaments.

After die cutting the Merry Christmas sentiment, I added Fairy Hugs Shamrock glitter for added sparkle.

Here's one final look at today's project:


Head back to the Dies R Us Blog tomorrow for more fabulous inspiration from the DRU Inspiration design team.

Don't forget to come join in the fun at the Dies R Us Challenge Blog.  There's a new challenge theme offered on the 1st and 15th of each month and one lucky randomly drawn winner will receive a $10 gift certificate to the Dies R Us Store.  For your convenience, all the important Dies R Us links are provided below.

click below for:


Thanks so much for stopping by.

Monday, August 24, 2020

Luna and Moon Fairy {DRU Insp}


Today I'm sharing a slimline card I created for the Dies R Us Inspiration team.  I love making these long, slim cards. 😀


But before we get started, I wanted to share that the DRU Inspiration team is having a DT Call. All the details about this call can be found here.


Now for more about today's project. The following dies were used to create this slimline card:

Memory Box: Big Splash Border 
(Any of these wave dies would work but this Frantic Stamper die or this Joy! Craft die are the most similar.)


I started out with white cardstock and die cut my slimline focal point.  Then I die cut the waves border and adhered it to the cardstock, making sure to not adhere the actual curly cue waves.  VersaFine Clair inks were used to create my background.  Next I die cut the mini sea shells and the sea birds to get ready to add them to my scene.  


I stamped the Moon Fairy by Lavinia stamps in the upper right hand corner of the card. Since the moon portion of the stamp is open, I added white paint within the border of the moon and once that was dry, I added yellow marker.  I also added white paint to the large stars on the stamped image.


I stamped Luna, the whale (a Fairy Hugs stamp) onto a piece of white cardstock and fussy cut her out so I could position her under the ocean waves and looking up at the moon.  (This Poppystamps die would also work well.)  The Berry Wreath stamp (also by Lavinia) and more VersaFine Clair ink was used to stamp on the ocean floor.


I wasn't quite happy with everything and decided I needed a few more stars in the sky.  I reached for the Stars Miniature stamp from Lavinia and stamped them with Hero Arts Unicorn pigment ink. 

I adhered my focal piece onto a purple layer and then to the black card base.

One final look at today's project:


I hope you've enjoyed today's project.  Head back to the Dies R Us Blog tomorrow for more fabulous inspiration from the DRU Inspiration design team.


Don't forget to come join in the fun at the Dies R Us Challenge Blog.  There's a new challenge theme offered on the 1st and 15th of each month and one lucky randomly drawn winner will receive a $10 gift certificate to the Dies R Us Store.  For your convenience, all the important Dies R Us links are provided below.

click below for:


Thanks so much for stopping by.


Thursday, January 16, 2020

Dream {Lavinia World #18}


Hey everyone, so happy that you're here.  Today is the beginning of a new Lavinia World Challenges #18.  The theme is always Anything Goes using a stamped image (no digis please).  You can enter our challenge either through our Challenge Blog, or through our Anything Lavinia Facebook Group.  We'd love to have you join us in both places!  The winner of the challenge wins a $15 gift code to go shopping at Lavinia World.

This project was created using the following stamps:


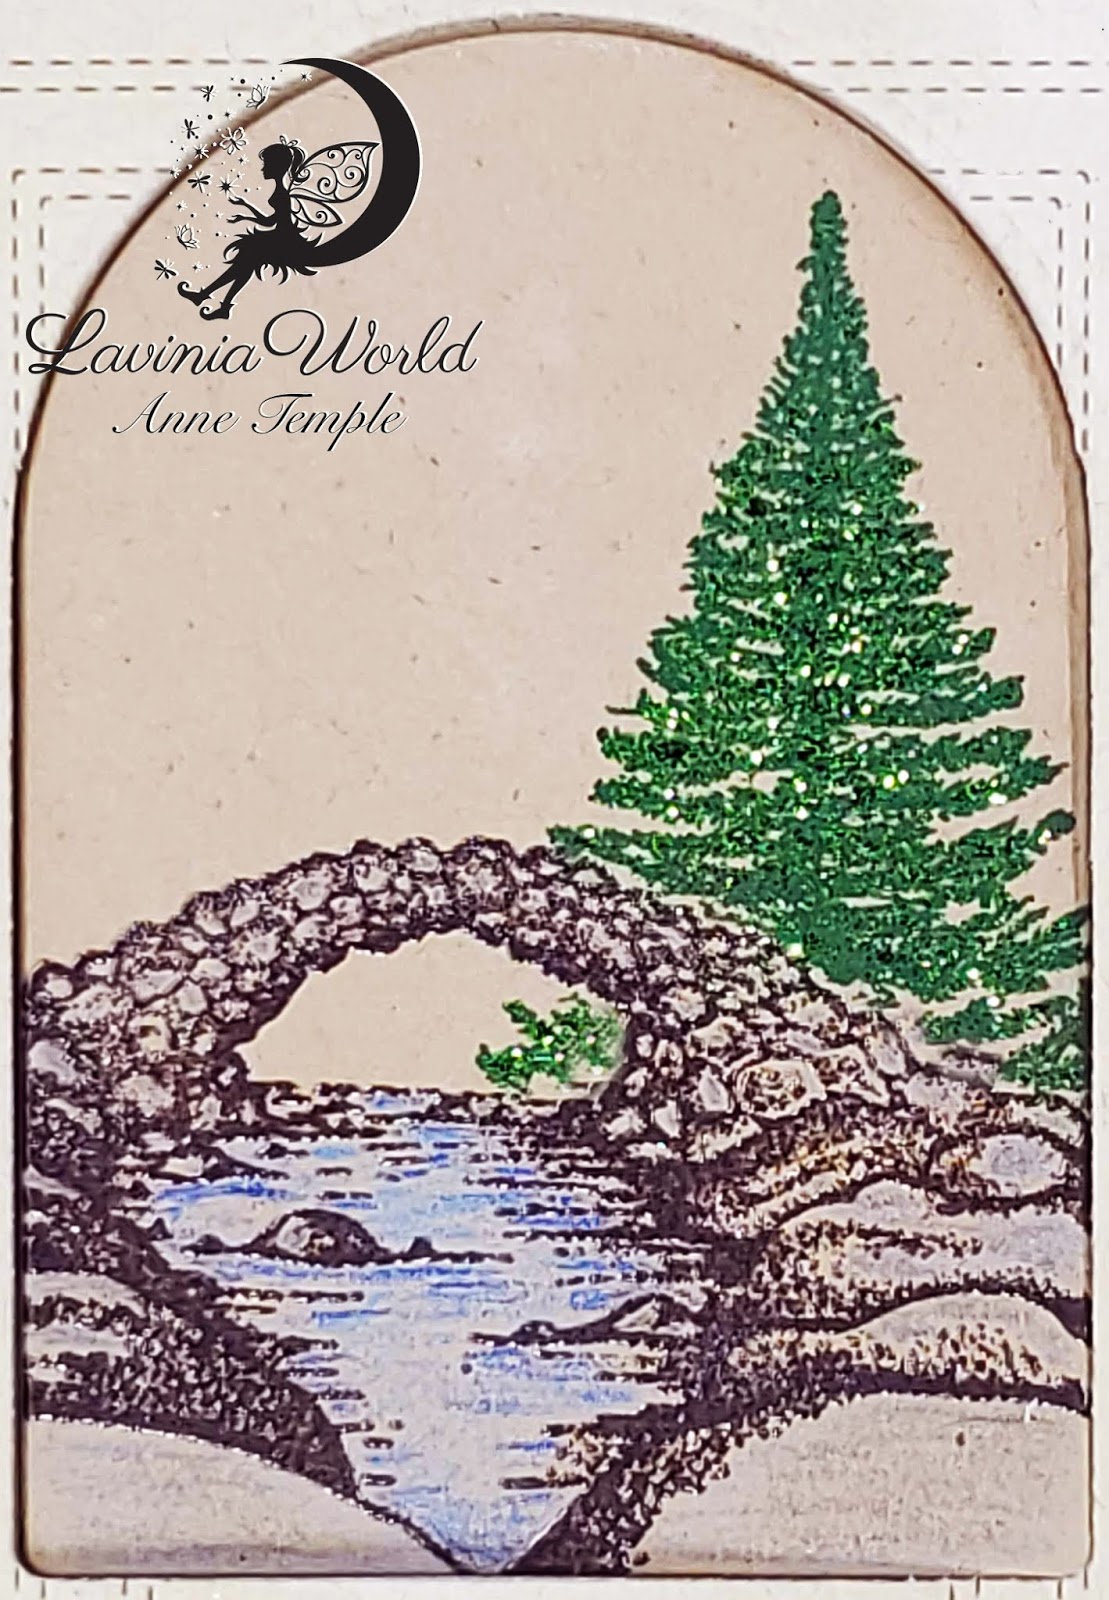
This is a fairly simple card to create.  I started out by die cutting the center from a piece of light kraft cardstock using a My Favorite Things die (Tall Snow Globe).  Save the die cut for a future project and use the negative piece.  Using the same die, I cut out the shape again, only using a darker shade of kraft cardstock.

Using a stamp positioner, I stamped the Fairy Bridge first using VersaFine Clair ink (Pinecone) onto the darker shaded die cut.  I then cleaned the stamp, inked it up with VersaMark and heat set it with Clear embossing powder.  I stamped the bridge a second time on scrap paper to create a mask.

Temporarily adhere the mask on top of the stamped bridge and then stamp the Fir Tree in the background.  I stamped it a couple of times with VersaFine Clair (Green Oasis) to make sure everything stamped ok. 


Next I brought out my colored pencils and shaded the water and the rocks.  I added green glitter to the Fir Tree for a bit of sparkle (and it also gives it a little more shading).

Taking the negative piece of lighter kraft cardstock, I ran it through my die cutting machine using a Law Fawn die (Just Stitching Double rectangles).  This die adds stitching, but doesn't actually cut anything out.  I used all the dies in the set.

I added pop dots to the negative piece and adhered it to my card base.  Next I added adhesive to the stamped focal point and dropped it down in the opening.  It's easier to do it this way as I don't have to worry about centering the focal point exactly in the right spot.  This way automatically does it for me 😀.

Lastly, I die cut my sentiment using a Simon Says Stamp die (dream) from black cardstock and adhered it under my focal point.

I think this would make a great card for a guy and you can add any sentiment you wish.

Now it's your turn!  Share your projects with us on the Challenge Blog, Facebook, Instagram, and our Anything Lavinia Facebook group:

Anything Lavinia


STORE ** CHALLENGE ** FACEBOOK ** INSTAGRAM

Like us on Facebook
Follow us on Instagram: LaviniaWorldStore

Don't forget to include #laviniaworldstore on your projects and tag us at @laviniaworldstore so we can be sure to see and comment on your Lavinia projects!


You have until Monday, Jan 27 to enter in either Lavinia World Challenges or Anything Lavinia.  We can't wait to see what you share with us!! Don't forget, the winner will receive a $15 gift code to do some shopping at Lavinia World.


Until next time.....

Thursday, August 1, 2019

Dancing Fairies {Lavinia World #6}


Hey everyone, it's time for a new bi-weekly challenge from Lavinia World Challenges!  We have a new challenge every other Thursday and the theme is Anything Goes a long as your project includes a stamped image (no digis).  If you happen to use a Lavinia stamp in your project, your chances of winning are doubled!!  So head on over to the Lavinia World store and grab some Lavinia stamps if you don't already own some :-).

For my project today, I created a fun shadow box using the Three Dancing Fairies and the Christmas Tree Group stamps along with several Lawn Fawn dies (Scalloped Box Card Pop-Up, Shadow Box Park Add-On, Shadow Box Card Spring Add-On).  The puffy clouds are dies by Memory Box.


After die cutting the scalloped shadow box from patterned cardstock, I cut the remaining pieces from white cardstock and colored them with Distress Oxides and Copics (for the flowers).  


I stamped the fairies with VersaFine Clair (Twilight), colored the wings with Copics, and then fussy cut them out.  They are suspended ("flying") using thin strips of acetate.

The Christmas Tree Group image was stamped using Distress Oxides, heat set using Clear embossing powder, and then fussy cut out.  I adhered this image to the last "bridge" of the scalloped shadow box.  The Puffy Clouds were adhered directly to the back sky panel.

This was so fun to make!! I love being able to incorporate my Lavinia stamps with all my dies.  So don't think you have to make all these amazing backgrounds using inks and paints if you aren't comfortable with that.  Lavinia stamps can be incorporated into any style. 😌😀

Until next time.....