Showing posts with label Crafters Companion. Show all posts

Friday, January 27, 2023

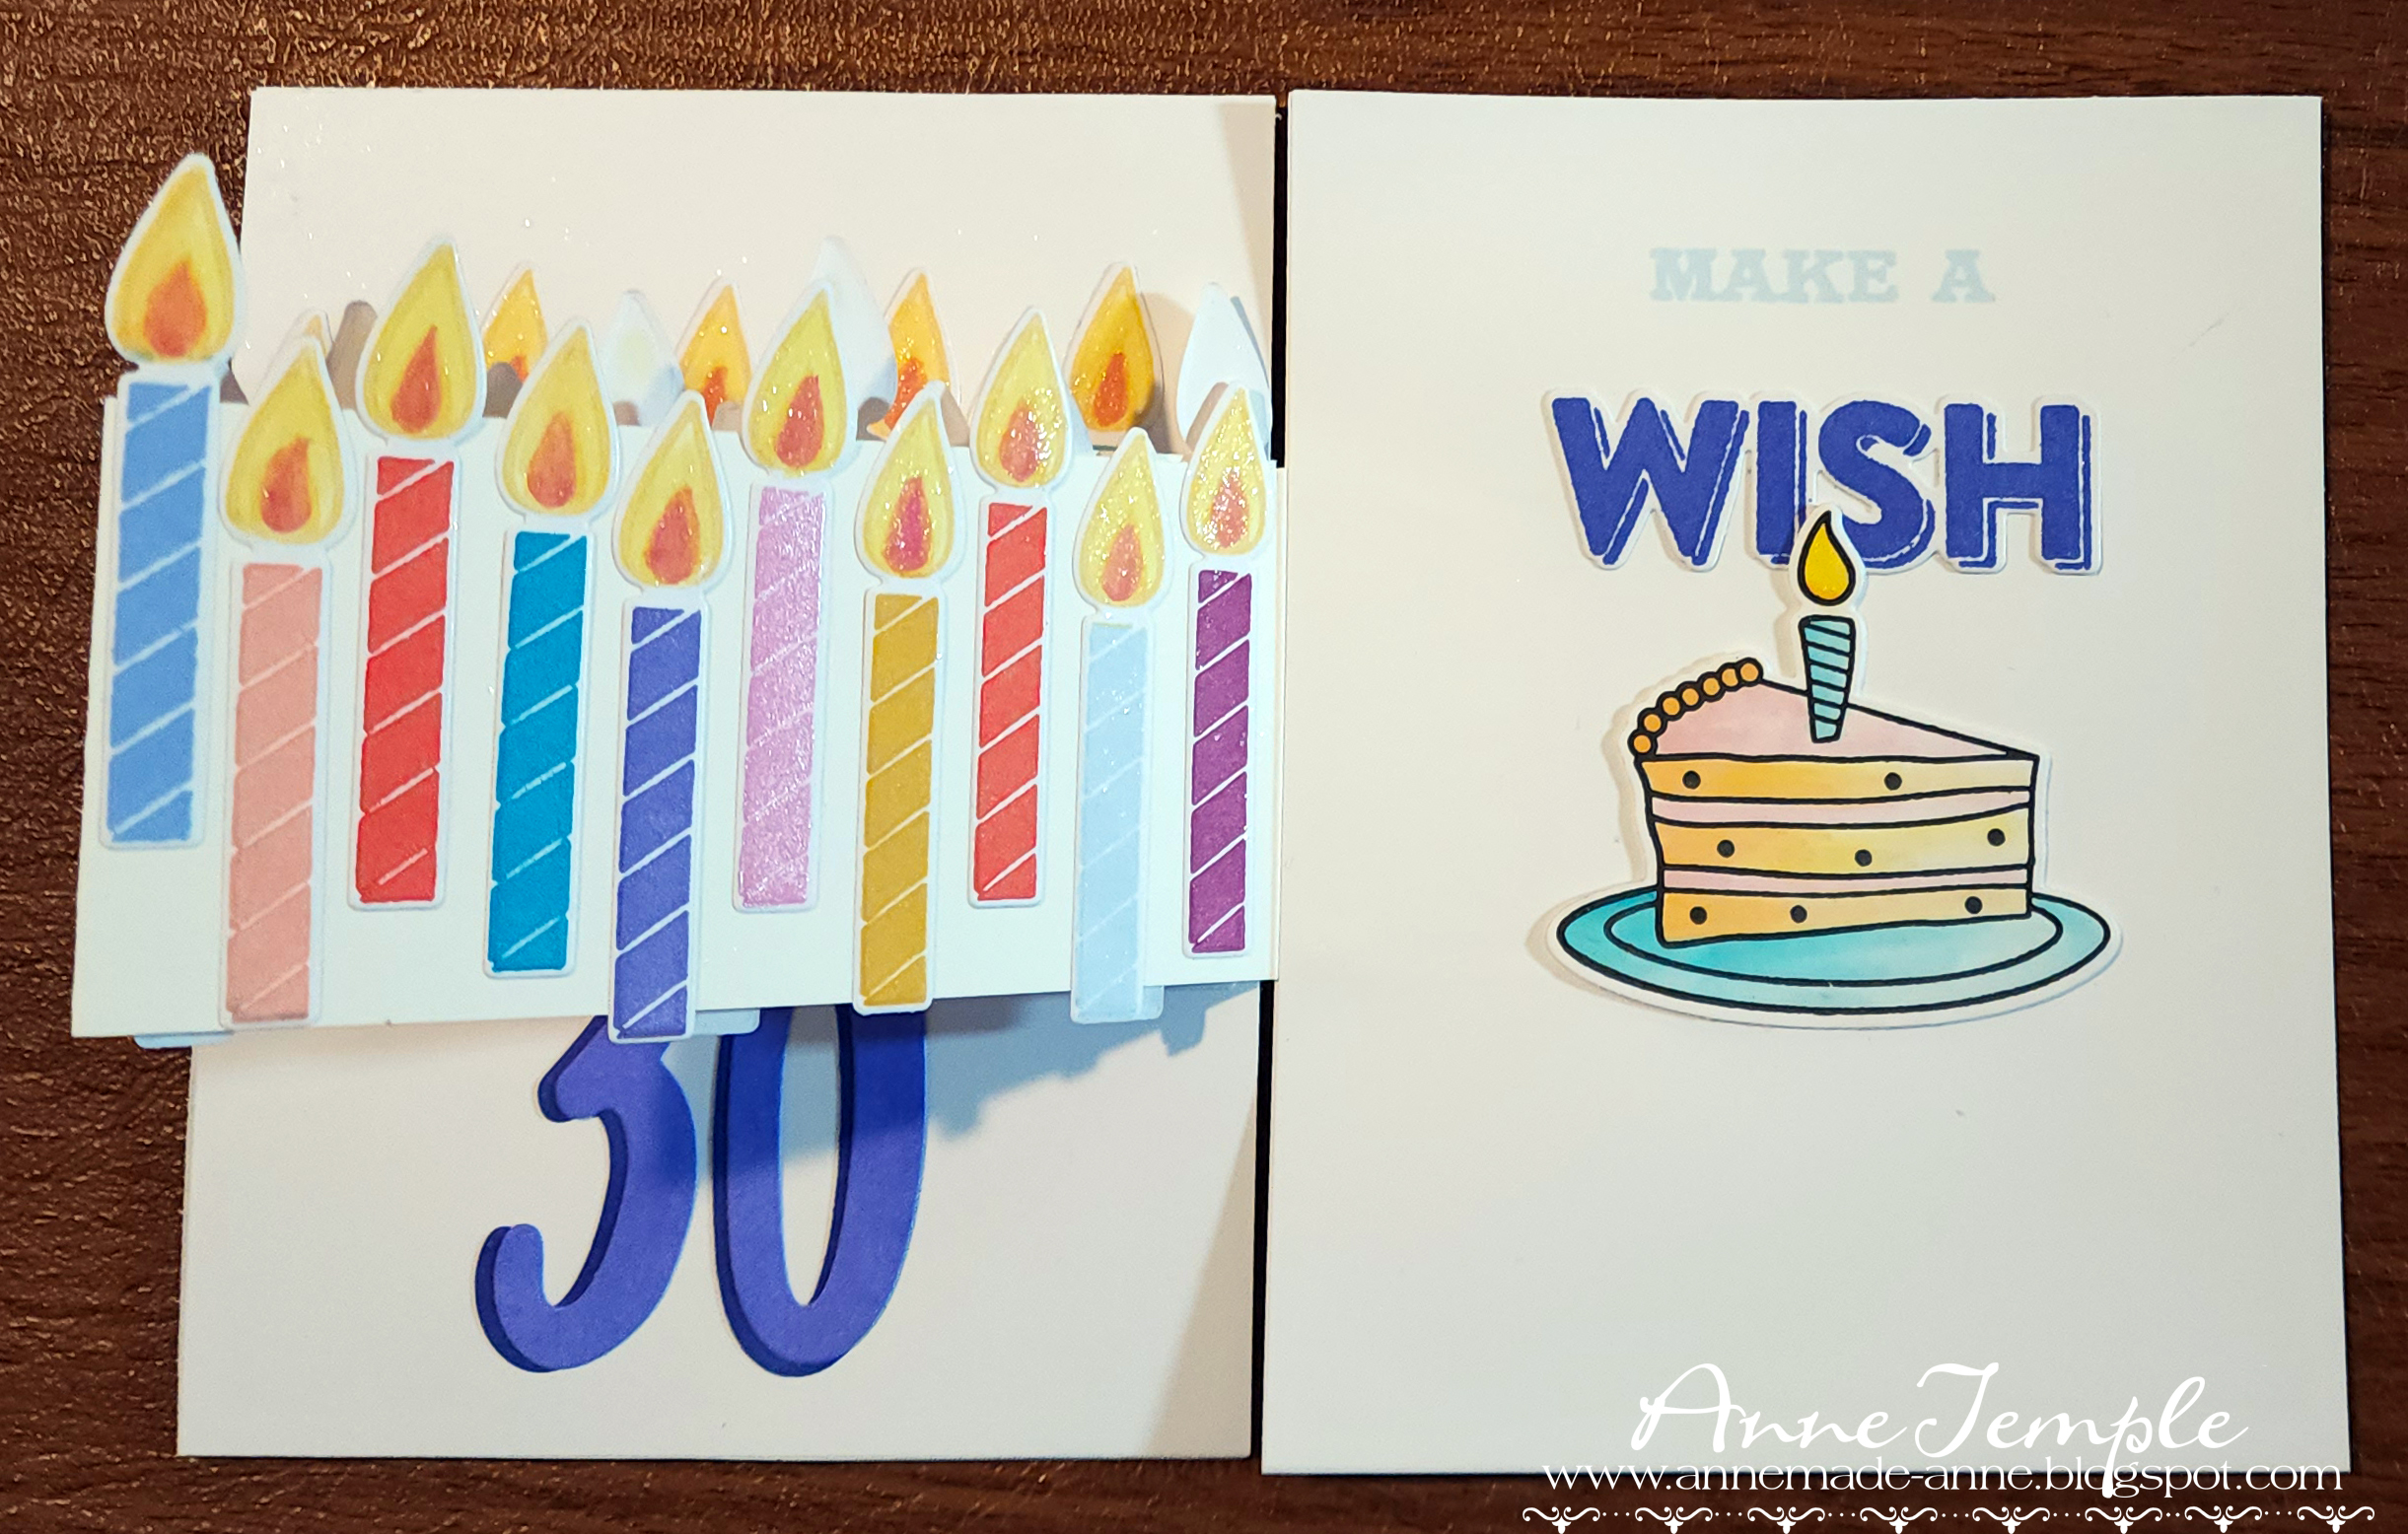
Retro Birthday Pull-Apart Card


Supplies used:

Altenew - Mid Century Festivities die set; Mid Century Festivities layering stamp set; Mid Century Cover die

Honey Bee - Inside: Birthday (sentiment on front of card)

My Favorite Things - Potted Plants; Cat and Plant Perches

Hero Arts - Yay Birthday

Crafter's Companion - Happy Birthday (numbers)

I got the idea of creating an accordion card using the birthday candles as the bridge from my friend Bonnie. (She found the idea in one of her Facebook groups.)


Until next time,


Sunday, April 25, 2021

Ginko and Kenzie and the Giant Mushrooms {Fairy Stamper}


Hey everyone, it's Sunday, so it's my turn to share a project with the Fairy Stamper Hugs Facebook group and I've created this night time scene using these Fairy Hugs stamps: Ginko and Kenzie (FSH-099) and Dancing Mushrooms (FSH-017). Fairy Hugs Glitter (Lapis) was used around the frame edges. You can find all of these at Fairy Stamper: 

Ginko and Kenzie
Dancing Mushrooms
Fairy Hugs Glitter - Lapis


To start out, I used Distress Inks and Oxides to create the blue background on my white piece of cardstock. Then I stamped the Dancing Mushrooms and heat set with a yellow embossing powder. I added accents to the mushrooms with paint pens.

Ginko and Kenzie wer stamped onto some white cardstock and then fussy cut out. I wanted them to be flying throught the huge field of giant mushrooms. Colored pens and Spectrum Noir sparkle markers give them added color.

The frame is a die cut by Crafters Companion. I added a thin (1/8") strip of double sided tape around the edges and added Lapis glitter for a bit of sparkle.

We'd love for you to join us in the Fairy Stamper Hugs Facebook group for lots of amazing inspiration from both the Design Team as well as the amazing projects shared by our members. Once you're there,  join in on the Fairy Stamper challenge every other Thursady for a chance to win a $15 gift code to Fairy Stamper.


Until next time,

Wednesday, January 13, 2021

Friendship {DRU Inspiration}


Hi everyone. I'm back today with a new project for the DRU Inspiration team.  I created this cute card for a friend of mine who doesn't care for typical Valentine's cards.  That's why I made it about friendship. 😀

I used the following products for today's project.

Poppystamps: Pinpoint Hearts
My Favorite Things: Skinny Strips (many of these would work)
Crafters' Companion: For A Special Friend stamp and die set (many of these will work)
La-La Land Crafts: Love Notes stamp set (any stamped image or die cut will work)


I started out by stamping my image with Memento ink and then coloring it with Copic markers.  Since I used a stamp positioner to stamp the image, I left the stamp in place while I colored it. Once it was colored, I placed the stamped image back in the positioner and stamped it again with VersaMark embossing ink. Then I heat embossed it with Clear embossing powder.  This extra step gives the image much more definition and a bit of shine. I fussy cut out each animal and saved the other two for upcoming projects.

Next up I used my paper trimmer to cut some patterned papers to the correct sizes for matting on an A2 sized card. On the smaller of the two mats, I die cut the Pinpoint Hearts.  Once this was die cut, I thought the pinpoints didn't stand out as much as I wanted, so I added a darker ink to the die cut area.  I didn't like that either, so I added the same ink randomly to the rest of the mat. Then I die cut another piece of the same patterned paper and fussy cut around the edges. 

I die cut my word Friend from the same patterned paper as the backing mat and stamped the other part of the sentiment onto white cardstock. I die cut this out using a small label die. You could also hand cut it.

Now I was ready for the assembly of my card. I adhered the backing mat to my white card stock base. Next came the patterned paper that I added lots of ink to and then the fussy cut out heart directly on top.  I completed the card by adding the panda and my sentiments.

Here is one final look at today's project:


Head back to the Dies R Us Blog tomorrow for more fabulous inspiration from the DRU Inspiration design team.

Don't forget to come join in the fun at the Dies R Us Challenge Blog.  There's a new challenge theme offered on the 1st and 15th of each month and one lucky randomly drawn winner will receive a $10 gift certificate to the Dies R Us Store.  For your convenience, all the important Dies R Us links are provided below.

click below for:


Thanks so much for stopping by.


Monday, December 28, 2020

Dream {Fairy Stamper}


Today's Fairy Stamper project is another quick and easy one.

The focal panel showcases the Fairy Hugs Stardust stamp.


To create the galaxy effect on my oval focal panel, I used a variety of Nuvo Embellishment Mousse colors on black cardstock.  Once I was happy with the look, I stamped the Stardust image multiple times with VersaMark and then heat embossed it with a yellow sparkle embossing powder.

The blue panel behind the focal panel carries the Stardust theme as well.  I stamped the image several times around the edges with VersaMark and allowed it to dry naturally.  I love how it leaves a watermark image where you stamp.

The yellow panel was dry embossed using a Crafters Companion embossing folder (Distress) and my sentiment is a die cut that I added Fairy Hugs Glitter Powder (Pixie Dust) to for added sparkle.

Come join our Fairy Stamper Facebook group to see all the latest inspiration from the design team and from the members.  This is YOUR group where you can ask questions, get inspired, and share your projects with us!


Until next time,

Thursday, December 17, 2020

Christmas {DRU Inspiration}

  (This is my second post for today. Please scroll down to see my Lavinia World project.)


Hey everyone!  Can you believe Christmas is next week!!! I'm not quite ready, so I'm rushing around getting all my last minute things together (like one more Christmas card 😆).

For this project, I used the following products:

Lawn Fawn: Shadow Box Card Fireplace Add-On (these would also work)
Spellbinders: Christmas Tree (any of these would work well)
Memory Box: Special Merry Christmas (many of these would work well)
Fairy Hugs: Stone Wall
Fairy Hugs Glitter Powder: Shamrock
Fairy Hugs Glitter Powder: Sunshine

Unfortunately, all of the specific dies I used for this card are now out of stock due to their popularity; however, I've linked many other options that would work as well.  I would suggest signing up for the newsletter and purchase the dies you like as soon as you see them available. 

To start off, I die cut every thing out of white cardstock and then proceeded to color the individual die cuts with either Distress Inks, Altenew inks, or Copic markers.


My card is a standard A2 size, so the front panel is 4" x 5.25".  I ran this through a Crafters Companion embossing folder (Stone Wall) to give a light amount of texture to the background.  Although it doesn't show up very well in the photo, you can see it quite well in person. 

Then I began coloring and assembling the individual pieces and adhered them to the front panel.

For the fireplace itself, I stamped the Fairy Hugs Stone Wall onto the die cut to give it the looks of stones.  I added dimensional strips behind the fireplace surround and mantel for added dimension.

I added Fairy Hugs Sunshine glitter powder to the star on the Christmas Tree die cut and added Nuvo Glitter Drops (Ruby Slipper) for my ornaments.

After die cutting the Merry Christmas sentiment, I added Fairy Hugs Shamrock glitter for added sparkle.

Here's one final look at today's project:


Head back to the Dies R Us Blog tomorrow for more fabulous inspiration from the DRU Inspiration design team.

Don't forget to come join in the fun at the Dies R Us Challenge Blog.  There's a new challenge theme offered on the 1st and 15th of each month and one lucky randomly drawn winner will receive a $10 gift certificate to the Dies R Us Store.  For your convenience, all the important Dies R Us links are provided below.

click below for:


Thanks so much for stopping by.

Monday, June 1, 2020

Foiled


Hey everyone, 
today I'm sharing a project I created for the Dies R Us Inspiration team using foil.

Foil is such a hot trend right now but not everyone wants to invest in a foil machine, especially if it's not going to be used that often.  I fall in that category, so I wanted to show alternative ways to apply foil to die cuts without needing a foil machine. 

I used the following dies for today's projects:

Sue Wilson Designs: Italian Collection-Background (many of these would work as well)
Gemini: Thanks For Everything stamp and die set (any word die will work)


To create the foiling on the tag, I began by adding a 2" piece of double sided tape to a piece of white cardstock and then die cut it.


After carefully removing the protective backing from the die cut, I laid the foil on top of the exposed adhesive and burnished it with my finger tips.  You want to keep the decorative side of the foil facing upwards.


When you flip it to the back, you'll see that the words and backwards and the matte side of the foil is shown.


Peel off the foil and voila, you now have a foiled word sentiment.


Next I die cut the tag and then dry embossed it with a DIY embossing plate using the Sue Wilson Designs Italian Collection Background die.  This technique will work with most any background die.  I happened to catch a Jennifer McGuire video where she die cut a piece of thin magnetic sheet using a large die to create an embossing folder (really a single embossing plate).  I was intrigued and tried it myself. I played around with my sandwich for my particular machine and it came out great.  I loved the fabulous dimension I got with the magnetic sheet and used this technique for both of my projects today.

After dry embossing the tag, I lightly applied pink ink across the raised areas just to give it a soft color.  I stamped my sentiment onto vellum and adhered both the sentiment and my foiled word to the front.  I cut a long piece of ribbon to thread through the hole so that I can tie this onto a gift bag.

Here's one more look at the tag.


I hope you've enjoyed today's project.  Head back to the Dies R Us Blog tomorrow for more fabulous inspiration from the DRU Inspiration design team.


Don't forget to come join in the fun at the Dies R Us Challenge Blog.  There's a new challenge theme offered on the 1st and 15th of each month and one lucky randomly drawn winner will receive a $10 gift certificate to the Dies R Us Store.  For your convenience, all the important Dies R Us links are provided below.


click below for:


Wednesday, February 19, 2020

Thanks


I need a quick thank you card so I created this quick watercolor one.  This is a set from a company that is no longer in business.  I stamped the image onto watercolor paper using Archival Ink and then added color using my Zig Clean Color Real Brush markers.  I added a little bit of glitter on the petals, although it doesn't show up very well in the photo.

The die cut is by Crafter's Companion and it also has a stamp set that is included with the die. I layered the die cut to make it stand out more.

Quick and easy!


Until next time.....


Wednesday, July 3, 2019

Believe in Magic {Scrapy Land #117}


Happy Wednesday and Happy July!  It's time for a brand new Scrapy Land Challenge.  Did you know that not only does Scrapy Land sell dies, they also sell Lavinia stamps and pattern papers? I'm loving these new stamps and today I created a three dimensional framed piece using dies and stamps.

The following products were used:


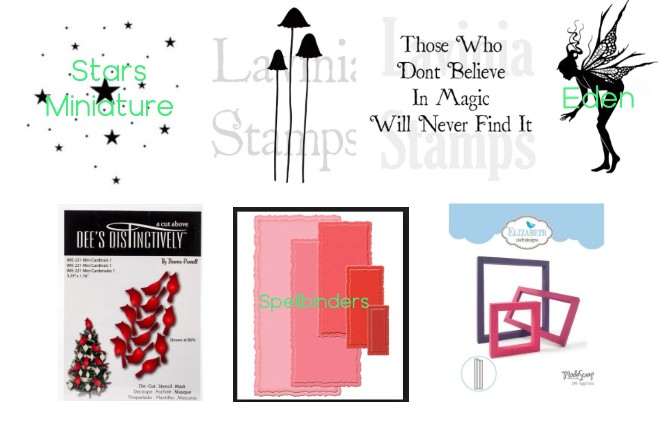
Lavinia stamps: Stars Miniature, Quirky Mushrooms, Believe In Magic, Eden
Dee's Distinctively: Mini Cardinals 1 (this, this, and this would also work)
Spellbinders: Deckled Mega Rectangles Small (any type of rectangle would work, or you could also create your own deckled frame using this Frantic Stamper die set.
Elizabeth Craft Designs: Happy Frame


I started out by stamping Eden into dark blue cardstock with VersaMark and then heat setting her with white embossing powder that has sparkly glitter added to it.  Next I masked the Quirky Mushroom stamps so that only one would stamp.  I stamped with VersaMark again and heat embossed with a bright green yellow embossing powder that also had glitter in it.  (The photo looks like it has tiny holes, but that's the way the glitter reflected off my camera lens).


I wanted my sentiment to be arranged differently than the stamp....so I cut it apart.  Normally I would try to mask it, but the way this stamp was designed and what I had in my head wouldn't let me do that 😲.  I heat embossed my newly created design with the same sparkly yellow green embossing powder.

I also stamped the (now) single word "Believe" in VersaMark randomly in the background to create a type of watermark.  When you let it dry naturally, it automatically drys darker that cardstock (love that!).

Next up, I die cut the bird and colored it with Copics. (Yes, I know that's not exactly what a cardinal looks like, but we are in a fairy world with this project 😁.)  After it was colored, I added a small pop dot to the back, so it would appear that he is perched on the mushroom and she is reaching out to pet him.

For the frame around the image, I used Spellbinders die and die cut the middle out (and saved for a later project).  Next I randomly stamped my stars around the frame and embossed them with a sparkly yellow embossing powder.

Then I began to make my 3D frame.  I played around with the die until I had it the size I wanted and then put it together.  I didn't want the top edges to be plain cardstock, so I took a border die and die cut a "stencil".  I added Distress Oxides through my newly created stencil to finish up the frame.  Finally, I adhered the focal image to a piece of patterned cardstock and then adhered this to the back of the 3D frame.  Now it's ready to be displayed - or given as a gift.  I haven't decided yet.😀

Now it's your turn to play along with us for the Scrapy Land Challenge #117.  The theme is always Anything Goes using any brand of die that Scrapy Land sells.  You can find the list of all the products here.  You have until July 14 to play along and have a chance to win one of two $10 gift certificates to do some shopping at Scrapy Land!

If you are loving the Lavinia stamps as much as I am, come back tomorrow for another project I created using different Lavinia stamps 😊.

Until next time.....


Wednesday, October 3, 2018

Christmas Sweaters {Scrapy Land #99}


Hey everyone, it's time for a new Scrapy Land Challenge #99!  I have a quick and easy to mail Christmas card to share with you today.  The theme is always Anything Goes using any brand of die that Scrapy Land sells.


The following dies were used for today's card:


Cheery Lynn Designs: Fun with Sweaters (here are other options)
Frantic Stamper: Deckled and Torn Edgers
Die-Versions: Tis The Season Sweet Wordlet (here are other options)


I have to say, I love these Cheery Lynn Sweaters and can think of so many uses for them other than on a Christmas card.  I think they would make adorable gift tags, you could customize these for any holiday, or how about for your favorite football team.  The list could go on and on 😀.

To create these two sweaters, I die cut one from double sided adhesive and added mini pompoms all over the top.  For the second one, I ran the top portion of the sweater through a embossing folder (Cuttlebug-Spots & Dots) and die cut the Ho Ho Ho from glittered cardstock.  Mini pompoms accent the front.

The green mat was die cut using the deckled edgers and then dry embossed using one of my favorite Christmas embossing folders from Crafters Companion (Christmas Merriment).  Nuvo Embellishment Mousse (Aloe Vera) was used to highlight the raised portions.

Now it's your turn to come play with us at the Scrapy Land Challenge.  You have until Oct 14 to upload your projects for a chance to win one of two $10 gift certificates to go shopping at Scrapy Land.


It's almost here!!! We will be celebrating this major milestone in two more weeks.  There will be fabulous prizes and a blog hop.  Mark your calendars as you don't want to miss this one!