Showing posts with label Paper Rose. Show all posts

Sunday, May 2, 2021

Fairy Hugs and The Craft Store

Fairy Hugs stamps are having their May New Release showcased at The Craft Store for several shows and featured as a One Day Special.  There are 5 shows today, May 2 at 1pm, 3pm, 5pm, 8pm, and 11pm Eastern time and 4 more shows on Monday, May 3 at 1am, 3am, 7am, and 11am Eastern time.  If you can't catch the shows live, then you can catch them any time during the next 60 days.

Here are the projects I created for the May release.

Interactive card using Lawn Fawn die set (Coaster Critters Slide On Over Add On)
Marina - FHS-150
Shell Door - FHS-149
Treasure Chest - FHS146
Anchor - FHS-142
Teeny Ocean Icons - FHS-157
Wiggles - FHS-154
Ivy Seaweed - FHS-161
Twisted Seaweed - FHS-163
Debth - FHS-167

Interactive card using Lawn Fawn die set (Coaster Critters Slide On Over Add On)
Marina - FHS-150
Shell Door - FHS-149
Treasure Chest - FHS146
Anchor - FHS-142
Teeny Ocean Icons - FHS-157
Wiggles - FHS-154
Ivy Seaweed - FHS-161
Twisted Seaweed - FHS-163
Debth - FHS-167

Chess Mushrooms - FHS-160
Mermaid Door - FHS-148
Frilly Seaweed - FHS-156
Shower Mushroom - FHS-162
Rock FOrmation - FHS - 143
Fan Plants - FHS-155
Fairy Hugs Background papers

Doria - FHS-151
Sandy - FHS-153
Treasure - FHS-165
Fairy Hugs Background papers

Fan Coral - FHS-144
Jester Mushrooms - FHS-159
Shell Door - FHS-149
Sea Quote - FHS-164
Rope Net - FHS-145

Row Boat - FHS-147
Treasure Chest - FHS-140
Anchor - FHS-142
Treasure - FHS-165
Fairy Hugs Stencil - Galaxy

Malila - FHS-152
Row Boat - FHS-141
Fairy Hugs Background papers

Tentacles - FHS-147
Fish School - FHS-158

Doria - FHS-151
Shower Mushroom - FSH-162
Fan Coral - FHS-144
Debth - FHS-167

Fish School - FHS-158
Frilly Seaweed - FHS-156
Teeny Ocean Icons - FHS-157
Rock Formation - FHS-143

Jester Mushrooms - FHS-159
Marina - FHS-150
Chess Mushrooms - FHS-160
Rope Net - FHS-145
Mermaid Door - FHS-148
Fairy Hugs Background papers

Sandy - FHS-153
Wisdom - FHS-131
Fairy Hugs Backgrounds papers

Serenity - FHS-166
Marina - FHS-150
Teeny Ocean Icons - FHS-157

Sea Quote - FHS-164
Fan Plant - FHS-155
Rope Net - FHS-145

Malila - FHS-152
Twisted Seaweed - FHS-163
About You - FHS-129
Rocks - FHS116

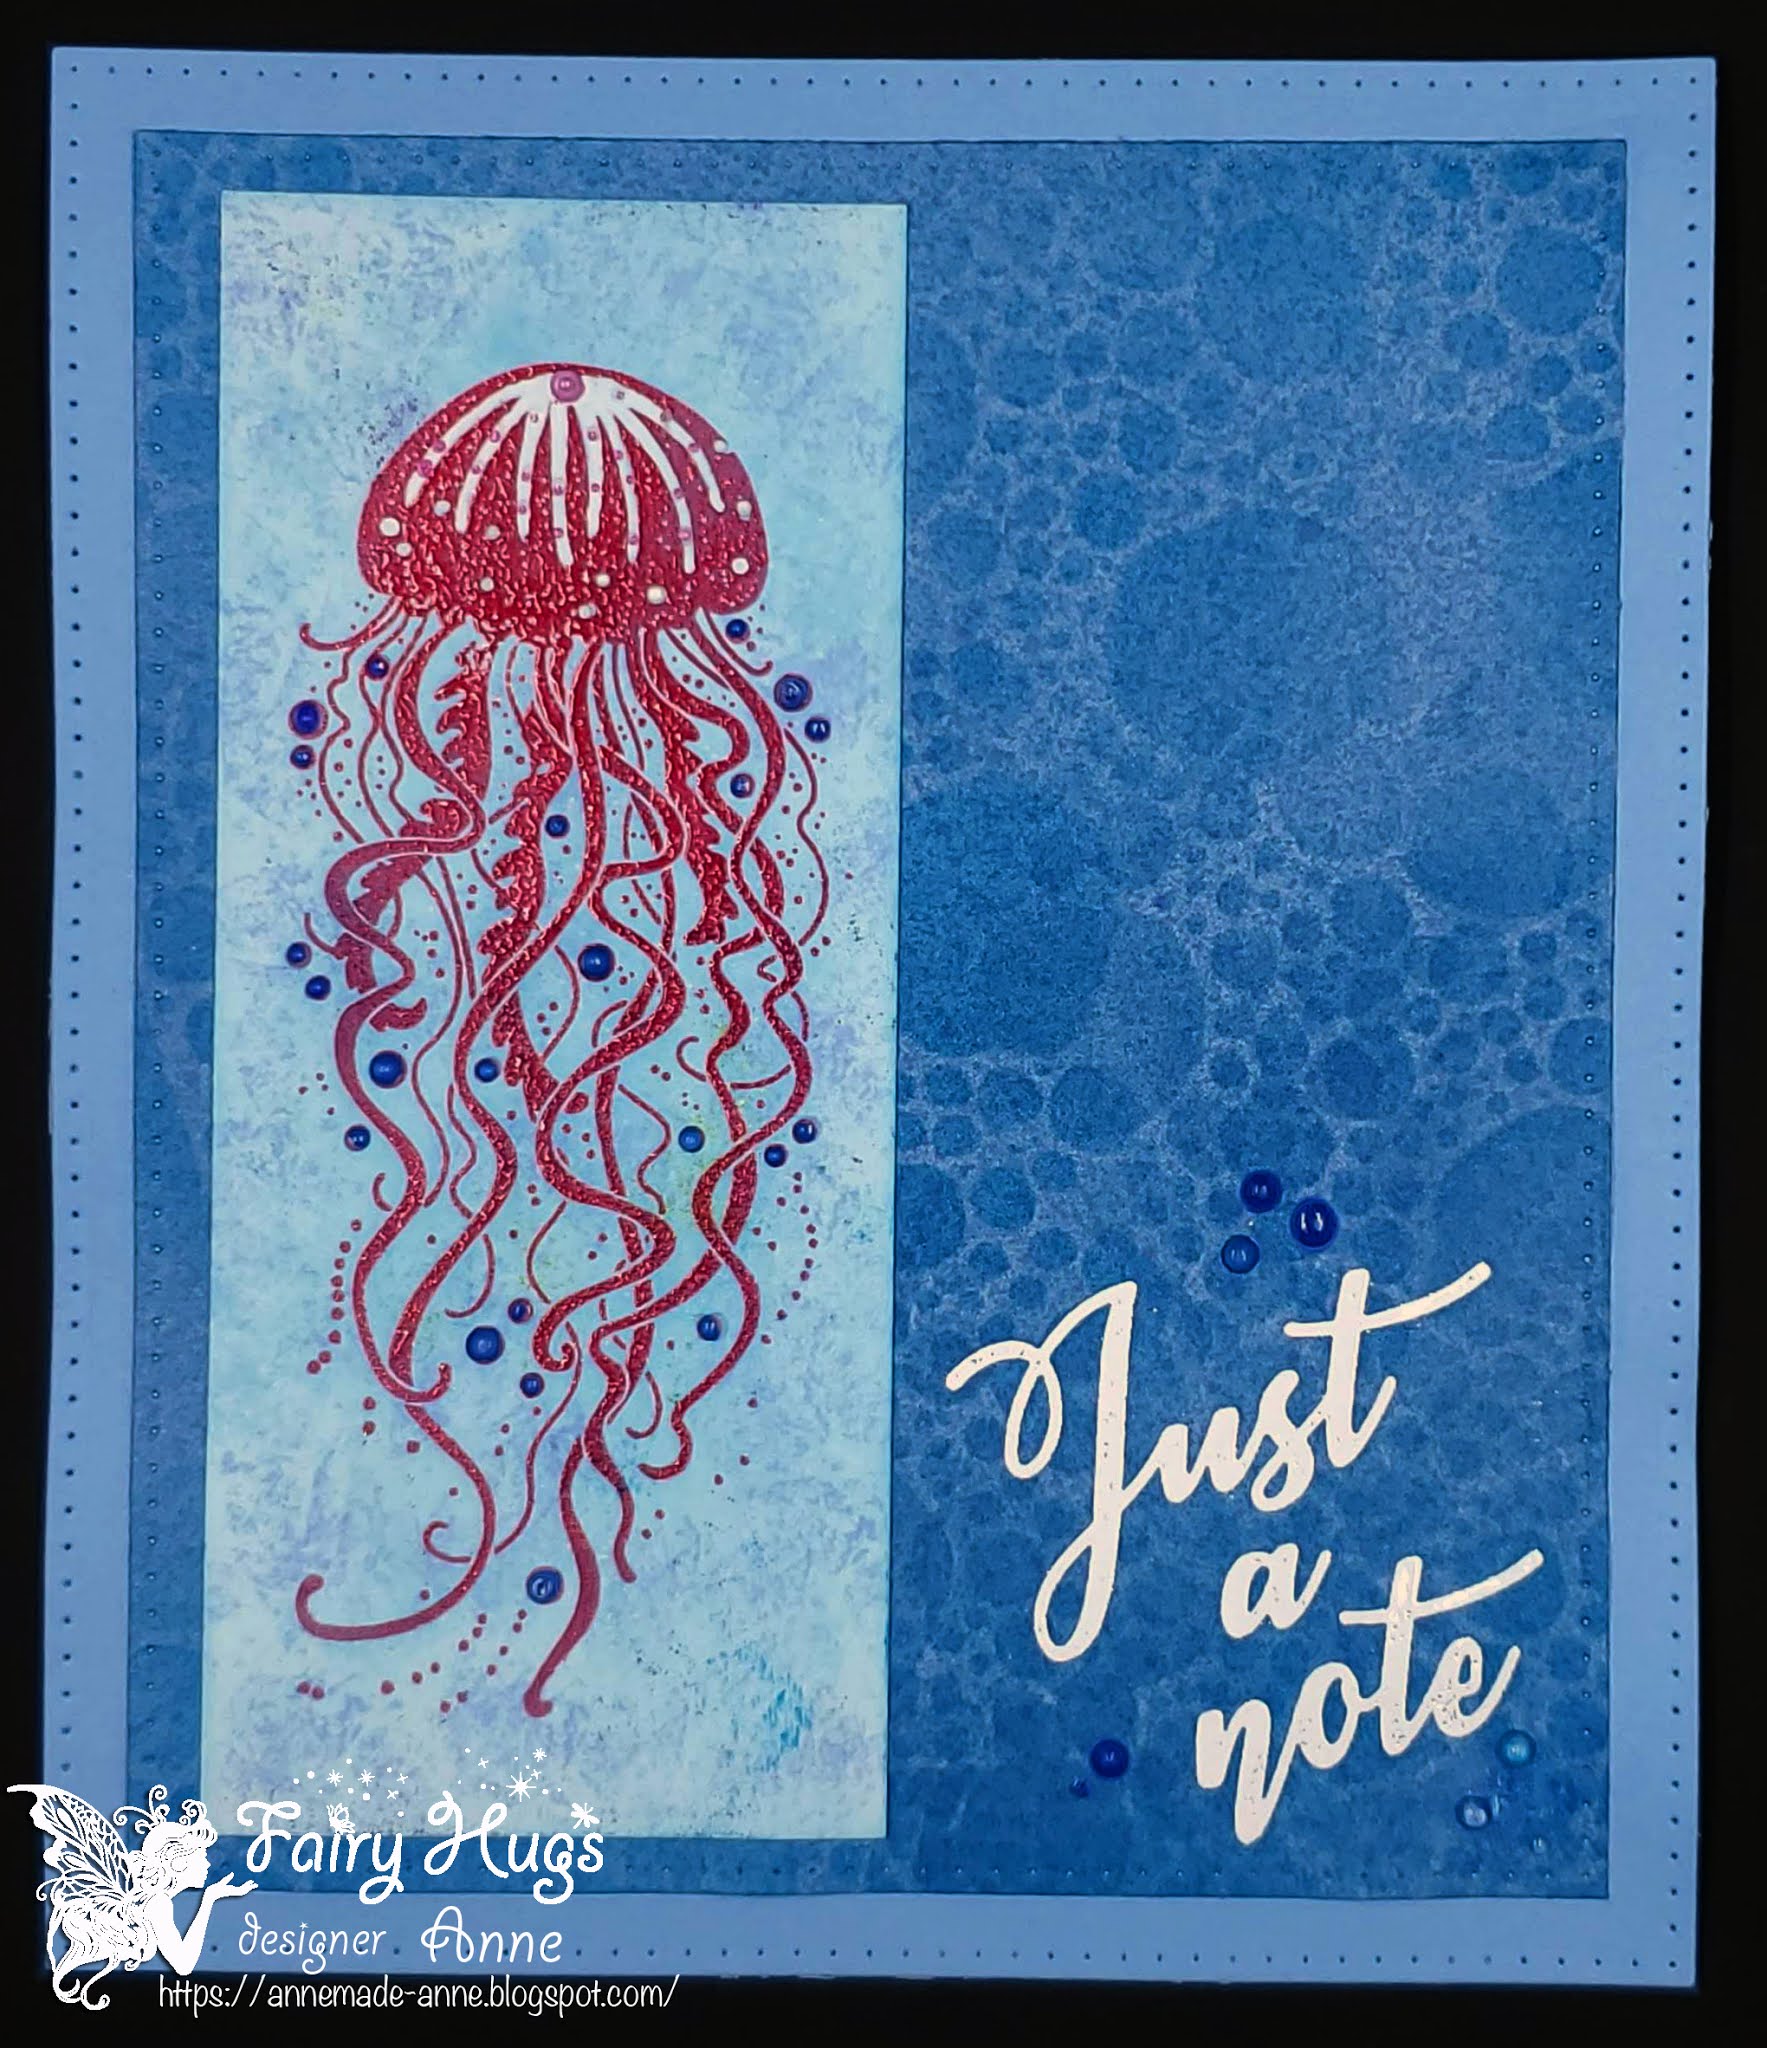
Wiggles - FHS-154
Just A Note - FHS-137
Fairy Hugs Stencil - Pebble Beach

Tentacles - FHS-147
Serenity - FHS-166


Until next time....


Friday, February 19, 2021

Fairy Hugs is on Hochanda TV

Fairy Hugs will be featured on Hochanda TV craft shows airing today and I'm so excited that I was able to be a guest designer and create samples for today's shows.

Show times are 12:00 Noon and 4 pm Eastern time. You can also watch the shows for the next 60 days.

Here are the samples I've created.

Kissing Fairy FHS-001 purse
Fairy Hugs Backgrounds

Kissing Fairy FHS-001 side view
Fairy Hugs Backgrounds

Waterfall FHS-034
Stardust FHS-076
Fairy Hugs Backgrounds
Fairy Hugs Glitter - Artic

Tonbic FHS-038
Stone Pedestal FHS-025
Fairy Branches FHS-033
Fairy Hugs Backgrounds

Oliver FHS-020
Tree Stump FHS-023
Ivy Corner FHS-049

Melia FHS-040
Logs FHS-016
Fantasy Flowers FHS-032
Fairy Hugs Backgrounds

Kissing Fairy FHS-001

Heron FHS-028
Waterfall FHS-034
Mini Dancing Mushrooms FHS-052
Mini Frog FHS-026

Fireflies FHS-065
Stardust FHS-076

Waterfall FHS-034
Logs FHS-016
Mini Dancing Mushrooms FHS-052
Heron FHS-028
Mini Frog FHS-026
Clouds FHS-061
Fairy Hugs Stencil - Pebble Beach
Fairy Hugs Glitter - Pixie Dust

Tarwep FHS-037
Mini Dancing Mushrooms FHS-052
Stone Pedestal FHS-025
Condo Dwellers FHS-060
Gnome Mansion FHS-080 (mini gnomes)
Fairy Hugs Backgrounds

Melia FHS-040
Tree Stump FHS-023
Mini Frog FHS-026
Fireflies FHS-065
Fairy Hugs Backgrounds
Fairy Hugs Glitter - Pixie Dust

Oliver FHS-020
Logs FHS-016
Ivy Corner FHS-049

Fireflies FHS-065


Thanks so much for stopping by.


Until next time..... 


Wednesday, February 10, 2021

Be Mine! {DRU Inspiration}


Hey everyone, Valentine's Day is only four days away and I decided to share one final Valentine's Day card.

The following products were use for today's project for Dies R Us:

Tutti Designs: Cross Stitch Hearts
Memory Box: Heart Delights (this would work perfectly as well)
Cheapo Dies: Newsprint
Paper Roses: Texture 3 (this would work well)
La-La Land: Love Notes stamp (any animal stamp or die cut would work well)

I began today's project by taking my background mat and tearing off the edges. This was then adhered to my white card stock base.  I started building up my card from there by die cutting all my pieces before adhering them.


I took the individual small hearts that were die cut from the Memory Box die and adhered them to my texture grid by Paper Rose. I set this aside to let the glue dry a bit longer and started on the rest of the card.

I adhered the large heart (die cut from the second to largest die in the set) to the side of the background mat. Next came the texture grid with the hearts already on it.  I die cut my sentiment using the Cheapo Dies font die and placed them where I thought I wanted it.  

At this point, I decided I needed something a little extra and remembered a previous project where used the La-La Land stamp and had two of the images left for a future project. This was just what I needed.


I adhered the cat in the lower right corner and then added the sentiment letters to complete the card.

Here's one final look at the finished project:

Head back to the Dies R Us Blog tomorrow for more fabulous inspiration from the DRU Inspiration design team.


Don't forget to come join in the fun at the Dies R Us Challenge Blog.  There's a new challenge theme offered on the 1st and 15th of each month and one lucky randomly drawn winner will receive a $10 gift certificate to the Dies R Us Store.  For your convenience, all the important Dies R Us links are provided below.

click below for:


Thanks so much for stopping by.

Monday, May 11, 2020

Daisies For You {DRU Inspiration}


Hey everyone, today I'd like to share a card I created for the Dies R Us Inspiration team. 


Last week I shared a card that used the same stencil (AALL & CREATE stencil called Lushly Leafy) as this one, but the results were completely different.  You can see that card here.

For today's project, the following dies from Dies R Us were used:

Paper Rose: Stitched Square Frame (this would also work well)

As I mentioned, I used an AALL & CREATE stencil and although DRU doesn't have their stencils, they do carry some of their fun stamps. After securing the stencil onto the cardstock, I added Distress Inks (Ripe Persimmon, Wild Honey, and Rusty Hinge) using a blending brush. 

My piece of cardstock was larger than the stencil and my original plan was to cut the finished piece down somewhat.  But when I saw the white frame and the colors on the outside of that, I really liked it.  So my design plans changed just like that. In the photo below, I'm arranging some dies on the entire piece of cardstock to see how they might look.  I do a "dry run" lots of time.  This extra step usually saves me in the long run because I rarely have a plan in mind before I start putting things together.


Once I was happy with my die choices, I was ready to die cut everything out.  I decided I wanted my daisies to be white but didn't have a textured white piece of cardstock that I liked....so I created my own with an older Cherry Lynn Designs Textured Embossing Plate (Cheesecloth/Linen).  Each side has a different pattern.  Unfortunately, this company was sold to a larger company and I couldn't find this texture plate on the internet. (You could achieve this same results with an embossing folder.)  DRU does have some Cheery Lynn dies in stock though.


I die cut my Delicate Daisies from this newly created textured cardstock and then shaped them for a more realistic look.


I then die cut quite a bit of greenery using various shades of green cardstock. I die cut the Stitched Square from one of the same greens.


After assembling the flowers and adding a bit of Spectrum Noir Sparkle Markers to the centers of the flowers (I used an old punch to create the centers), everything was ready to assemble.

Here's one final look at the project:


I hope you've enjoyed today's project.  Head back to the Dies R Us Blog tomorrow for more fabulous inspiration from the DRU Inspiration design team.


Don't forget to come join in the fun at the Dies R Us Challenge Blog.  There's a new challenge theme offered on the 1st and 15th of each month and one lucky randomly drawn winner will receive a $10 gift certificate to the Dies R Us Store.  For your convenience, all the important Dies R Us links are provided below.


click below for:
FRIENDS OF DIES R US PINTEREST PAGE

Thanks for stopping by!