Showing posts with label Spellbinders. Show all posts

Wednesday, September 11, 2024

It's been awhile...

 I can't believe it's been a year since I last posted here. I have been posting to my Facebook and Instagram accounts though 😁.  


Lately, my crafting time has been spent working on Christmas cards. Here is one of them that has a fun, little shaker element on it. I've used Spellbinders and Lisa Horton Crafts products to create this. 


Until next time, 

Anne


Wednesday, July 12, 2023

Joy


I have a CAS Christmas card to share with you today, all made with Spellbinders products. The card front was embossed using the Scenic Poinsettias 3D embossing folder , the "twine" is a die (Sealed Twine), and the wax seal is from their new Wax Seal club of the month. The camera didn't quite capture the depth of the dimension from this folder. It is really fabulous in person.

I played with wax seals when i was a teenager, using the old dripping candle to make the puddles instead of the wax beads. It's just as fun now as it was back then, only easier because you are melting the wax beads in a little spoon.

So, my first Christmas card of the year is now done! One down and tons to go 😄.


Until next time,


Tuesday, July 4, 2023

Happy birthday


Happy Birthday America! Although I did create a 4th of July card for a friend, I didn't take a photo of it before I rushed to get it in the mail. I thought this birthday card would be a good substitute.

This is another Betterpress Letterpress plate from Spellbinders. This set comes with both the plate for the letterpress as well as dies to cut out the individual letters and the birthday sentiment. I colored the letters with colored pencils.

The background is a Spellbinders embossing folder from their monthly embossing folder club. Although it is called "Waves" and was designed for water themed projects, I thought it also looked like leaves. I blended a light yellow/green ink onto the raised areas for color. I also added a few sequins to finish it off.


Until next time, 


Sunday, July 2, 2023

All Occasion


This any occasion card was created using the new Betterpress Letterpress system from Spellbinders. I'm here to say all the good stuff you've read about or watched on You Tube videos is absolutely true. 

It's so easy to use the first time around and I love how you can leave it plain or color it with one of your favorite mediums. For this one, I watercolored the image. 

This shaped card was die cut using a Tonic Studios die set. The frame has been heat embossed using embossing powder.  

On the inside, I dry embossed one of the smaller cut-out dies.  This gives you the perfect place to add your message.

I look forward to adding more Betterpress plates to my crafting stash 😀.


Until next time,


Sunday, May 2, 2021

Fairy Hugs and The Craft Store

Fairy Hugs stamps are having their May New Release showcased at The Craft Store for several shows and featured as a One Day Special.  There are 5 shows today, May 2 at 1pm, 3pm, 5pm, 8pm, and 11pm Eastern time and 4 more shows on Monday, May 3 at 1am, 3am, 7am, and 11am Eastern time.  If you can't catch the shows live, then you can catch them any time during the next 60 days.

Here are the projects I created for the May release.

Interactive card using Lawn Fawn die set (Coaster Critters Slide On Over Add On)
Marina - FHS-150
Shell Door - FHS-149
Treasure Chest - FHS146
Anchor - FHS-142
Teeny Ocean Icons - FHS-157
Wiggles - FHS-154
Ivy Seaweed - FHS-161
Twisted Seaweed - FHS-163
Debth - FHS-167

Interactive card using Lawn Fawn die set (Coaster Critters Slide On Over Add On)
Marina - FHS-150
Shell Door - FHS-149
Treasure Chest - FHS146
Anchor - FHS-142
Teeny Ocean Icons - FHS-157
Wiggles - FHS-154
Ivy Seaweed - FHS-161
Twisted Seaweed - FHS-163
Debth - FHS-167

Chess Mushrooms - FHS-160
Mermaid Door - FHS-148
Frilly Seaweed - FHS-156
Shower Mushroom - FHS-162
Rock FOrmation - FHS - 143
Fan Plants - FHS-155
Fairy Hugs Background papers

Doria - FHS-151
Sandy - FHS-153
Treasure - FHS-165
Fairy Hugs Background papers

Fan Coral - FHS-144
Jester Mushrooms - FHS-159
Shell Door - FHS-149
Sea Quote - FHS-164
Rope Net - FHS-145

Row Boat - FHS-147
Treasure Chest - FHS-140
Anchor - FHS-142
Treasure - FHS-165
Fairy Hugs Stencil - Galaxy

Malila - FHS-152
Row Boat - FHS-141
Fairy Hugs Background papers

Tentacles - FHS-147
Fish School - FHS-158

Doria - FHS-151
Shower Mushroom - FSH-162
Fan Coral - FHS-144
Debth - FHS-167

Fish School - FHS-158
Frilly Seaweed - FHS-156
Teeny Ocean Icons - FHS-157
Rock Formation - FHS-143

Jester Mushrooms - FHS-159
Marina - FHS-150
Chess Mushrooms - FHS-160
Rope Net - FHS-145
Mermaid Door - FHS-148
Fairy Hugs Background papers

Sandy - FHS-153
Wisdom - FHS-131
Fairy Hugs Backgrounds papers

Serenity - FHS-166
Marina - FHS-150
Teeny Ocean Icons - FHS-157

Sea Quote - FHS-164
Fan Plant - FHS-155
Rope Net - FHS-145

Malila - FHS-152
Twisted Seaweed - FHS-163
About You - FHS-129
Rocks - FHS116

Wiggles - FHS-154
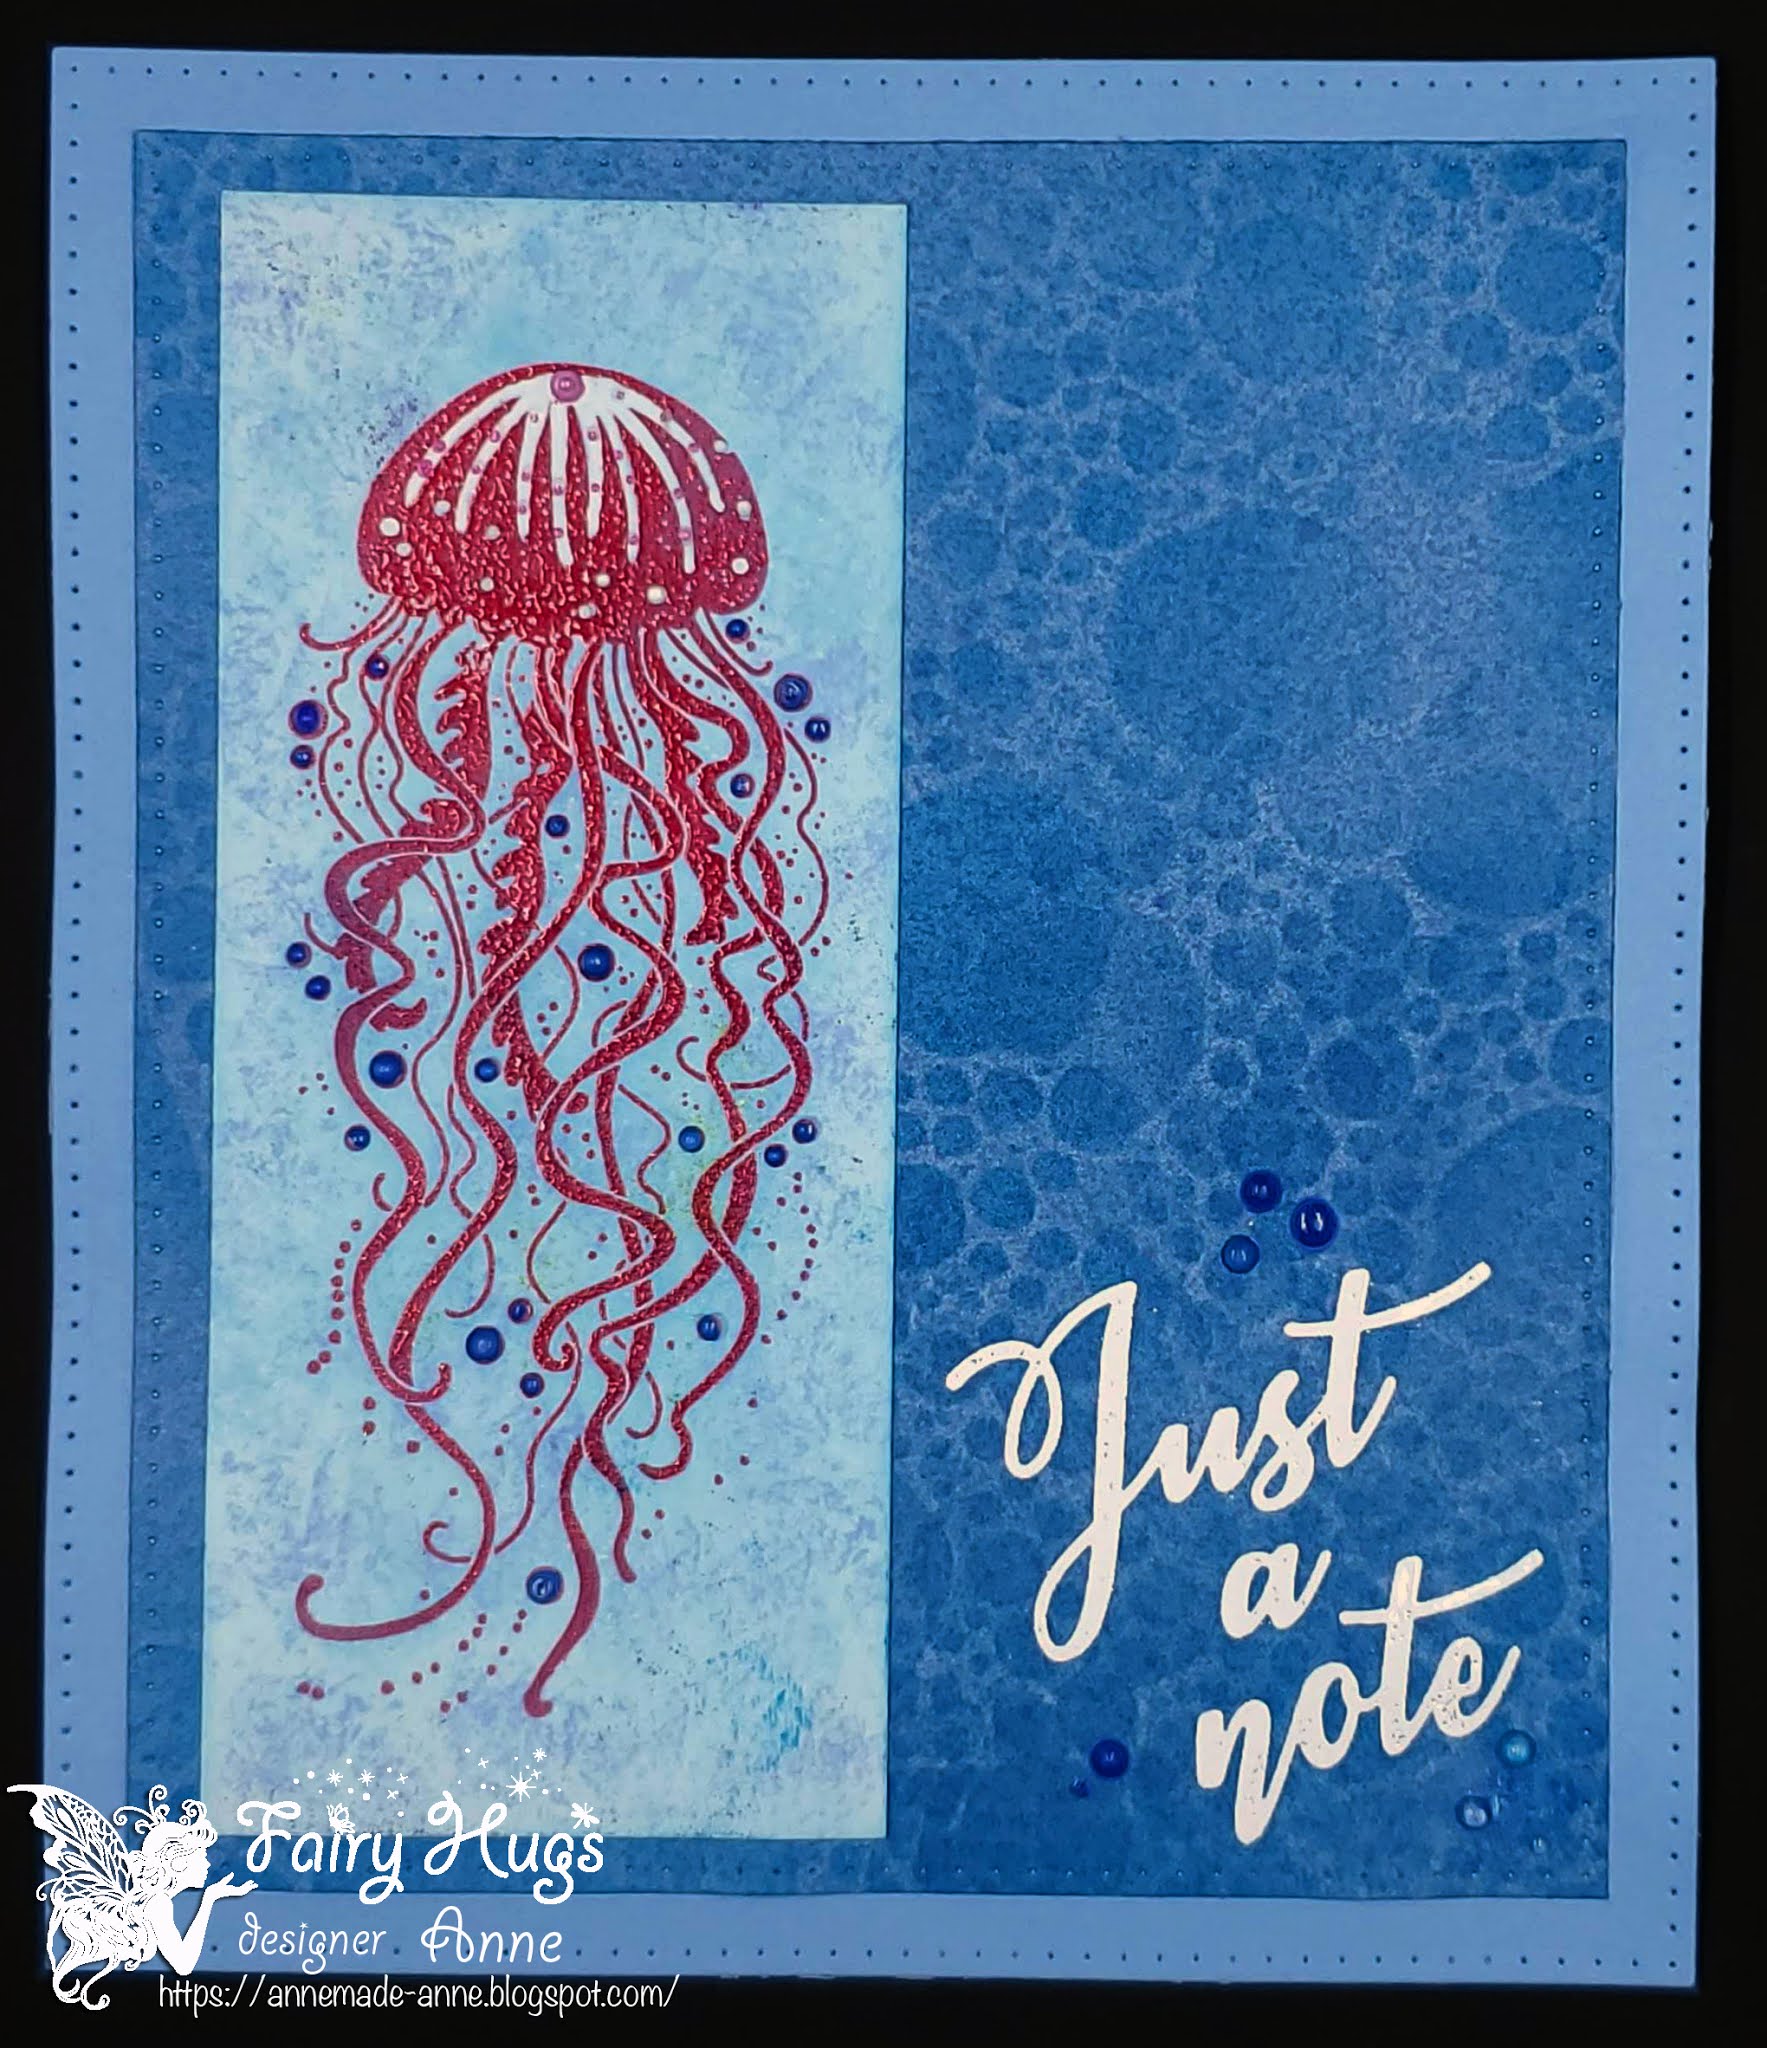
Just A Note - FHS-137
Fairy Hugs Stencil - Pebble Beach

Tentacles - FHS-147
Serenity - FHS-166


Until next time....


Wednesday, February 17, 2021

Scotch Man (DRU Inspiration)

Hey everyone, it's my turn on the Dies R Us Inspiration Blog. Today I'm sharing a masculine birthday card, but it would really be perfect for anyone who loves a good glass of bourbon/whiskey/scotch etc. 😀

I used the following dies from Dies R Us:

Poppystamps: Happy Birthday Background (any of these would work)
Spellbinders: Sunday Drive with Santa add-on (any small image would work for the bottle label)
MFT: Bitty Birthday Wishes (any of these would work)

As I usually do, I die cut all my pieces before starting the assembly process. I started with the Whiskey bottle and die cut everything in both white cardstock and in vellum.  At this point I wasn't exactly sure how I was going to combine the individual pieces, but I knew I wanted to color the bottle with my Copics. I ended up adding the vellum to the top of the bottle and around the outsides of the glasses to give each of these pieces a frosted look.


The label was die cut from a piece of silver mirrored cardstock.


Next came the small deer head for the label. This was also die cut from vellum.


The Tall Birthday Candles and the Slimline Scalloped Rectangles were die cut from white cardstock as well. These pieces will be for the inside of the card.


I used the negative pieces from Poppystamp's Happy Birthday Background die for the front sentiment.


Brown cardstock was used to die cut the  Slimline Gentlemen Background and then it was adhered to a page from an old dictionary. (If you look closely, it's one of the "S" pages and defines the word Scot and Scottish.)


This is the inside of birthday card.


And one final look at the front of the birthday card:


Head back to the Dies R Us Blog tomorrow for more fabulous inspiration from the DRU Inspiration design team.


Don't forget to come join in the fun at the Dies R Us Challenge Blog.  There's a new challenge theme offered on the 1st and 15th of each month and one lucky randomly drawn winner will receive a $10 gift certificate to the Dies R Us Store.  For your convenience, all the important Dies R Us links are provided below.

click below for:


Thanks so much for stopping by.


Thursday, February 11, 2021

Guinevere


I've seen so many of this type of design in blogland lately and I wanted to give it a try too.  To create this project, I used the following products, currently available at Fairy Stamper:

Fairy Cuts Dies - Sitting Mermaid (coordinates with Guinevere)
Fairy Cuts Dies - Fish Friends (coordinates with Fish Set)

I started out by die cutting a fairly large scalloped circle from white card stock.  After temporarily adhering the Pods stencil onto the circle, I began blending Distress Oxides (Blueprint Sketch, Mermaid Lagoon, Broken China) onto the surface. Once I was happy, I spritzed it with just a little bit of water and then set it aside.

Next I stamped the fish and Guinevere with Versafine Clair Nocturne ink and then die cut them out using the coordinating Fairy Cuts Dies.

To add color, I used gel pens, paint markers, and Spectrum Noir sparkle markers.

The card base was created from white card stock.  I used two Spellbinders dies (Grand Squares) and dry embossed them to create the outside frame for my focal point.  Then everything was adhered in place.  

This was actually a pretty quick card to put together, especially since I didn't have to fussy cut out all my images.  The Fairy Cuts are great dies and cut like butter 😀.


Until next time....


Thursday, December 17, 2020

Christmas {DRU Inspiration}

  (This is my second post for today. Please scroll down to see my Lavinia World project.)


Hey everyone!  Can you believe Christmas is next week!!! I'm not quite ready, so I'm rushing around getting all my last minute things together (like one more Christmas card 😆).

For this project, I used the following products:

Lawn Fawn: Shadow Box Card Fireplace Add-On (these would also work)
Spellbinders: Christmas Tree (any of these would work well)
Memory Box: Special Merry Christmas (many of these would work well)
Fairy Hugs: Stone Wall
Fairy Hugs Glitter Powder: Shamrock
Fairy Hugs Glitter Powder: Sunshine

Unfortunately, all of the specific dies I used for this card are now out of stock due to their popularity; however, I've linked many other options that would work as well.  I would suggest signing up for the newsletter and purchase the dies you like as soon as you see them available. 

To start off, I die cut every thing out of white cardstock and then proceeded to color the individual die cuts with either Distress Inks, Altenew inks, or Copic markers.


My card is a standard A2 size, so the front panel is 4" x 5.25".  I ran this through a Crafters Companion embossing folder (Stone Wall) to give a light amount of texture to the background.  Although it doesn't show up very well in the photo, you can see it quite well in person. 

Then I began coloring and assembling the individual pieces and adhered them to the front panel.

For the fireplace itself, I stamped the Fairy Hugs Stone Wall onto the die cut to give it the looks of stones.  I added dimensional strips behind the fireplace surround and mantel for added dimension.

I added Fairy Hugs Sunshine glitter powder to the star on the Christmas Tree die cut and added Nuvo Glitter Drops (Ruby Slipper) for my ornaments.

After die cutting the Merry Christmas sentiment, I added Fairy Hugs Shamrock glitter for added sparkle.

Here's one final look at today's project:


Head back to the Dies R Us Blog tomorrow for more fabulous inspiration from the DRU Inspiration design team.

Don't forget to come join in the fun at the Dies R Us Challenge Blog.  There's a new challenge theme offered on the 1st and 15th of each month and one lucky randomly drawn winner will receive a $10 gift certificate to the Dies R Us Store.  For your convenience, all the important Dies R Us links are provided below.

click below for:


Thanks so much for stopping by.