Showing posts with label Cheery Lynn Designs. Show all posts

Wednesday, December 30, 2020

Be Merry {DRU Inspiration}


Today is my turn on the Dies R Us Inspiration Blog and I'd like to share a Christmas card that I created.  You may think I made this to send out for 2020, but as I waited till the last minute this year, I vowed to get started on my 2021 Christmas cards sooner.  So this is my first Christmas card for 2021! 😆.

I used the following dies, many of which are oldies, but goodies:

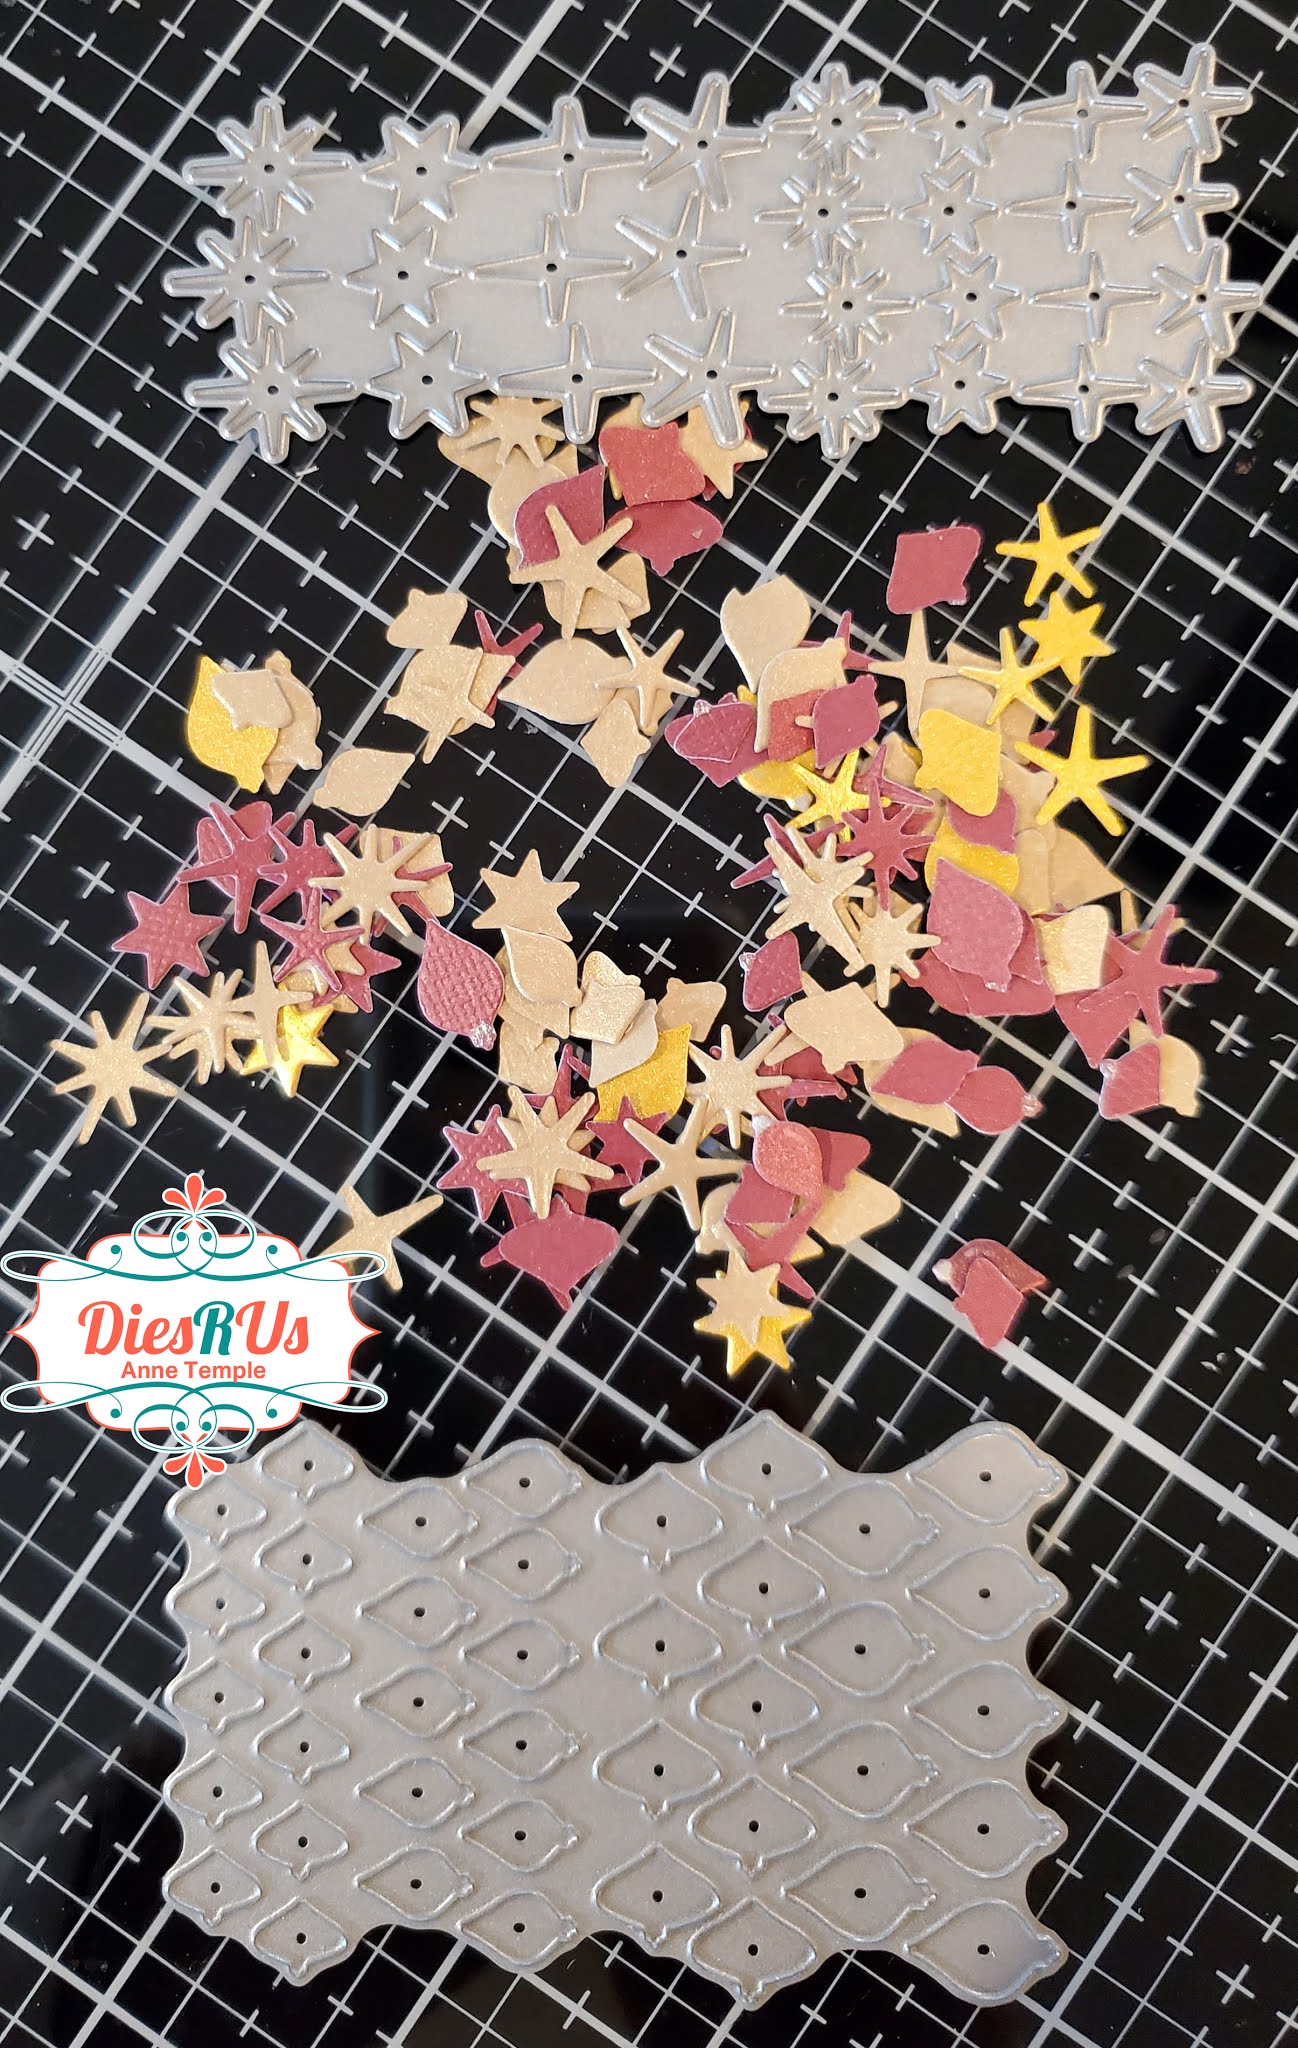
Dee's Distinctively: Mini Stars
Dee's Distinctively: Mini Decorations
Cheery Lynn Designs: Christmas Light Swag
Pink & Main: Bold Christmas dies (Special Order Sale) (any of these would work)
Sizzix: Tim Holtz's Cutout Script (any of these would work)
Lifestyle Crafts: Nesting Scalloped Ovals (these Dee's Distinctively dies would work well, or most any oval die)
Kat Scrapiness: Stitched and Layers Christmas Tree die (Special Order Sale) (many of these will work)
Honey Bee: Plaid A7 Cover Plate-Base (many background cover plates would work)
Honey Bee: Plaid A7 Cover Plate-Top (many background cover plates would work)

I began this project by die cutting out the various pieces from specialty papers and cardstock.


Next I began assembling the smaller pieces - the Christmas lights and layering the ornaments and stars together to add more dimension. Once these were adhered together, the rest of the card is quick and easy.  I die cut and assembled enough of these for a future card as well.😀

Once everything was ready, I created my card base from kraft cardstock and adhered the plaid background down first. Then I began assembling the Christmas tree and adding my tree skirt (the thin oval) to the front. Finally, I added my sentiment die cut from two different companies.  

Head back to the Dies R Us Blog tomorrow for more fabulous inspiration from the DRU Inspiration design team.

Don't forget to come join in the fun at the Dies R Us Challenge Blog.  There's a new challenge theme offered on the 1st and 15th of each month and one lucky randomly drawn winner will receive a $10 gift certificate to the Dies R Us Store.  For your convenience, all the important Dies R Us links are provided below.

click below for:


Thanks so much for stopping by.

Monday, May 11, 2020

Daisies For You {DRU Inspiration}


Hey everyone, today I'd like to share a card I created for the Dies R Us Inspiration team. 


Last week I shared a card that used the same stencil (AALL & CREATE stencil called Lushly Leafy) as this one, but the results were completely different.  You can see that card here.

For today's project, the following dies from Dies R Us were used:

Paper Rose: Stitched Square Frame (this would also work well)

As I mentioned, I used an AALL & CREATE stencil and although DRU doesn't have their stencils, they do carry some of their fun stamps. After securing the stencil onto the cardstock, I added Distress Inks (Ripe Persimmon, Wild Honey, and Rusty Hinge) using a blending brush. 

My piece of cardstock was larger than the stencil and my original plan was to cut the finished piece down somewhat.  But when I saw the white frame and the colors on the outside of that, I really liked it.  So my design plans changed just like that. In the photo below, I'm arranging some dies on the entire piece of cardstock to see how they might look.  I do a "dry run" lots of time.  This extra step usually saves me in the long run because I rarely have a plan in mind before I start putting things together.


Once I was happy with my die choices, I was ready to die cut everything out.  I decided I wanted my daisies to be white but didn't have a textured white piece of cardstock that I liked....so I created my own with an older Cherry Lynn Designs Textured Embossing Plate (Cheesecloth/Linen).  Each side has a different pattern.  Unfortunately, this company was sold to a larger company and I couldn't find this texture plate on the internet. (You could achieve this same results with an embossing folder.)  DRU does have some Cheery Lynn dies in stock though.


I die cut my Delicate Daisies from this newly created textured cardstock and then shaped them for a more realistic look.


I then die cut quite a bit of greenery using various shades of green cardstock. I die cut the Stitched Square from one of the same greens.


After assembling the flowers and adding a bit of Spectrum Noir Sparkle Markers to the centers of the flowers (I used an old punch to create the centers), everything was ready to assemble.

Here's one final look at the project:


I hope you've enjoyed today's project.  Head back to the Dies R Us Blog tomorrow for more fabulous inspiration from the DRU Inspiration design team.


Don't forget to come join in the fun at the Dies R Us Challenge Blog.  There's a new challenge theme offered on the 1st and 15th of each month and one lucky randomly drawn winner will receive a $10 gift certificate to the Dies R Us Store.  For your convenience, all the important Dies R Us links are provided below.


click below for:
FRIENDS OF DIES R US PINTEREST PAGE

Thanks for stopping by!


Saturday, August 3, 2019

Sweet Sentiment 1000 Member Party

Anime Raccoon Jane

Chibi Raccoon Jammie


Hey everyone, the Sweet Sentiment Facebook Group has hit 1000 members!  So that means there will be a party with presents (prizes) for you!  I have two projects to share with you today.   Jammie, the owner of  Sweet Sentiment and the Sweet Sentiment FB page, offers amazing coloring classes.  Not only do you get fantastic coloring videos and printable PDFs, you also get actual products to try out included in these kits. You can read all about her classes here!

Scrapper's Delights is a proud sponsor of Sweet Sentiment and has created an image that members of the Sweet Sentiment FB group can get for free using a code in the Scrapper's Delights store.  There will also be a coloring contest and a random winner will receive images from Scrapper's Delights.

You also have a second chance of winning prizes if you add your image to the Scrapper's Delights Challenge blog in our FB group.


For my two cards, I colored both images with Copic markers. After coloring Anime Raccoon Jane, I die cut the image using a deckle oval and then added glitter around the edges. The remaining die cuts are from Tonic Studios and I left them white so the image would be your focal point.  I did color the flowers with Copics and then added Nuvo Crystal Drops to the centers.  Spectrum Noir Sparkle markers gave them a nice shimmer.

For Chibi Raccoon Jammie, I enlarged the sentiment, which is part of the image file, on my computer before printing.  I layered digital paper behind the sentiment and added the image in front of the sentiment. After printing and coloring Chibi Raccoon Jammie, I added several actual paper layers, including an older die cut from Cheery Lynn Designs.

Be sure to head on over to the Sweet Sentiment Facebook Group and join the fun!!


Wednesday, October 3, 2018

Christmas Sweaters {Scrapy Land #99}


Hey everyone, it's time for a new Scrapy Land Challenge #99!  I have a quick and easy to mail Christmas card to share with you today.  The theme is always Anything Goes using any brand of die that Scrapy Land sells.


The following dies were used for today's card:


Cheery Lynn Designs: Fun with Sweaters (here are other options)
Frantic Stamper: Deckled and Torn Edgers
Die-Versions: Tis The Season Sweet Wordlet (here are other options)


I have to say, I love these Cheery Lynn Sweaters and can think of so many uses for them other than on a Christmas card.  I think they would make adorable gift tags, you could customize these for any holiday, or how about for your favorite football team.  The list could go on and on 😀.

To create these two sweaters, I die cut one from double sided adhesive and added mini pompoms all over the top.  For the second one, I ran the top portion of the sweater through a embossing folder (Cuttlebug-Spots & Dots) and die cut the Ho Ho Ho from glittered cardstock.  Mini pompoms accent the front.

The green mat was die cut using the deckled edgers and then dry embossed using one of my favorite Christmas embossing folders from Crafters Companion (Christmas Merriment).  Nuvo Embellishment Mousse (Aloe Vera) was used to highlight the raised portions.

Now it's your turn to come play with us at the Scrapy Land Challenge.  You have until Oct 14 to upload your projects for a chance to win one of two $10 gift certificates to go shopping at Scrapy Land.


It's almost here!!! We will be celebrating this major milestone in two more weeks.  There will be fabulous prizes and a blog hop.  Mark your calendars as you don't want to miss this one!


Wednesday, September 5, 2018

Magic of Christmas {Scrapy Land #97}


Happy Wednesday!  It's the first Wednesday of September and that means it's time for a new Scrapy Land Challenge!  The theme is always Anything Goes using any brand of die that Scrapy Land sells.

As I've mentioned before, I'm slowly working on my Christmas cards.  So I have another one to share with you today.  I used the following dies for my card:


Yvonne Creations: Christmas Decoration
Cheery Lynn Designs: Lattice 1
Sunny Studios: Fishtail Banners (any of these would work as well)

The image is a digi called Fairy Bauble from Make It Crafty.  I colored it with Copic markers and used the colors suggested on the online video class.  Once the image was finished, it was die cut out using the Sue Wilson die.

The backdrop was created by die cutting the Lattice 1 die three times from three different colors of cardstock.  I offset each one so the color patterns would be different.  (I cut off the excess portion on the sides so that the entire piece was still an A2 size.)

The Christmas Decoration was die cut from white cardstock and heat embossed with Gold embossing powder.

The sentiment (from Sunny Studios called Holiday Style) was stamped onto my fishtail die cut and heat embossed using Hero Arts White embossing powder. 

I pop dotted it in the center so it would look curved.

Now it's your turn to join along in the fun.  You have until Sept 15 to upload your project to the Scrapy Land Challenge.  Remember it can be anything (mixed media, scrapbook page, altered art), as long as it includes dies that Scrapy Land sells.  There are over 55 brands to choose from.  You can see them all here.


This major milestone will be celebrated on Oct 17.  Stay tuned for details.


Wednesday, December 6, 2017

Hey Y'all {Scrapy Land #79}


It's Wednesday and that means it's time for a new Scrapy Land Challenge.  The theme is always Anything Goes using any brand of die that Scrapy Land sells.

I felt like making something other than a holiday card today (although I'm still behind on making my Christmas cards 😮).  Today's card is definitely bright in person and it makes me smile every time I look at it.

The following dies were used to create this card:


Cheery Lynn Designs: 3D Rooster
Frantic Stamper: Hey Y'all
Taylored Expressions: Ray of Sunshine cutting plate
Sue Wilson Designs: Noble dies - Ornate Pierced Rectangles

I started off by die cutting the rooster from white cardstock and coloring him with Copic markers.  I die cut him a second time from black cardstock to use as a shadow.  I love how his feathers fluff up for a great 3D look.


Next came the sunny background.  I wanted this to be dimensional as well.  After die cutting from white cardstock, I flipped it over and taped the center and the edges of the rays near the center so that they wouldn't lift out.  Next I applied Distress Inks and Oxides (Fired Brick, Fossilized Amber, Spiced Marmalade) to the front until I was happy with the results.  To get the dimension on the individual rays, I added pop dots in various depths to back of each ray.  That way, some of the rays were higher than others.  The card base was die cut using the Sue Wilson die.


This was a pretty quick and easy card to make and I was quite happy with the results.

Now it's your turn to join us.  You have until December 17 to play along in the Scrapy Land Challenge.  There are two winners, a random winner and a winner chosen by the Design Team.  Each winner will receive a $10 gift certificate to go shopping at Scrapy Land.

Monday, April 17, 2017

Peace, Love and Happiness


Today I'd like to share with you a Christmas card.  You can never start making these cards too early 😀.  The Christmas Holly Blessings rubber stamp set by Sparkle N Sprinkle was used to create this card.

After stamping the image with Memento Tuxedo Black ink, the image was colored with Copic markers and then die cut with a Tonic Studios die (Mixed Edge Rectangle Layering Basics set).  Nuvo Jewel Drops (Strawberry Coullis) was added to each of the berries.  This gives them lots of dimension.  The trick I use so that the wet drops don't run together when they are touching each other is to do every other one.  I let those dry and then come back and add drops to the rest.  That way, each one dries individually and looks more realistic.  Depending on where you live, these dry really fast, so I work on another part of the project while these dry.

The focal point was then adhered to a piece of cream cardstock.  I added Shimmer embossing powder to the edges for more sparkle and texture.  This layer was then adhered to a piece of dark green cardstock that was die cut using a Tonic Studios die (Blocked Parquet and Garden Trellis set).  The last two layers of this shaped card were die cut using a Spellbinders die (Grand Scallop Circles) and a Cheery Lynn Designs die (Mega Tea Party Doily).

A strip of ribbon was added by applying a piece of 1/4" Tear-ific Tape to the back and adhering it over each of the layers.


Wednesday, July 20, 2016

Christmas Wreath {Scrapy Land Challenge #46}


A new Scrapy Land Challenge begins today and the theme for the new challenge is:

Emboss It! (Heat or Dry) Plus use any brand of die that Scrapy Land sells.

I have another Christmas card to share with you today.  I'm trying to get a little ahead so that I'm not in such a crunch to get all my cards completed in November.  (Probably wishful thinking - but every little bit helps :-). )  My card incorporates both heat embossing (the bow and the snow drifts) as well as dry embossing (the window frame).

The dies used to create this card are:


Cheery Lynn Designs: Ornamental Wreath with Bow
Taylored Expressions: Birch Tree Border
Marianne Designs: Window with Snow Drifts (Scrapy Land special promotion)

From time to time, Scrapy Land has special promotions featuring European die companies that aren't readily available to get in the US.  I purchased this Marianne Designs die during one of those promotions.  (Be sure to sign up for the newsletter so you'll know when these special events happen.)

This card has lots of layers and dimension, and you can see it better from this angle:


This is really an easy card to assemble.  Start out by die cutting all the pieces.  I heat embossed the snow drifts with Velvet Sparkle embossing powder and dry embossed the window frame with a Crafters Companion embossing folder (Wood Grain).  The wreath was die cut from green cardstock and then "enhanced" with a Spectrum Noir Sparkle marker and Nuvo Glitter Drops (Ruby Slipper).  I die cut the bow from white cardstock and colored with Copic markers.  You could also die cut it from red cardstock.

Now it's time to assemble the layers.  Beginning with the bottom layer, I added my patterned paper to the card base, then the birch trees.  Next I adhered the snow drifts to the back of the window panes and added dimensional tape along the back edges of the window.  The final step was to adhere the wreath and bow to the front of the window.  I also used a small pop dot for the bow.

You have until July 31st to upload your Emboss It! project to the Scrapy Land Challenge.  The winner, chosen by the design team, will receive a $15 gift certificate to go shopping at Scrapy Land.  Be sure to check out what the rest of the talented Designers have created for this challenge.  I know you you'll be inspired.


Friday, April 22, 2016

Happy Mother's Day


Throughout the month, the Designers from Sparkle N Sprinkle have been pairing Want 2 Scrap chipboard with various products sold at SNS.

For my card today, I started out with the Want 2 Scrap Nestaboard Lacey Ovals and created the background by heat embossing it with Gold Coast embossing powder.  The silhouette is a Dreamweavers stencil that I laid on top and then pressed VersaMark embossing ink through the openings.  After carefully removing the stencil, I covered the embossing ink with Amethyst Spray embossing powder and heat set it.

Once this had cooled, I added Nuvo Crystal Drops (Buttermilk) around the perimeter of oval.  I let these dots set up for a few minutes as I only wanted some of the Crystal Drops to be covered with glitter, then I sprinkled Hyacinth glitter over the semi-wet drops.  This allowed some of the Crystal Drops to be covered with glitter and some of them to remain the original color.

The green oval frame is part of a die from Cheery Lynn Designs (Emperor Swan).  The white die cuts are from Sue Wilson Designs (Noble die collection: Ornate Pierced Rectangles) and the sentiment is two Sweet Wordlet dies from Die-Versions (Happy, Mother's Day).  I added some Amethyst Spray embossing powder to a scrap of cardstock, heat set it, and then cut out my words.

For a finishing touch, I combined a couple different Mon Ami Gabby (White/Gold 7/8"; Carmel/Gold 7/8") pull ribbons together to create a ribbon flower.

Wednesday, April 6, 2016

Exploding Hexagon Baby Card {Scrapy Land #39}


Exploding hexagon box card open


Can you believe it's already April?  Time does fly!!  That means is also time for a new Scrapy Land Challenge.  The theme for this first Wednesday challenge is Anything Goes using any brand of die that Scrapy Land sells.

Exploding hexagon box card closed


The following dies were used to create this 3D card:


Die-Versions: Sweet Wordlets - Welcome
Die-Versions: Sweet Wordlets - Sweet
Die-Versions: Sweet Wordlets -  Baby
Die-Versions: Sweet Wordlets - It's A Boy Girl
Die-Versions: Lacey Dots
Die-Namites: Baby Clothesline
Cheery Lynn Designs: Victoria Picket Fence
Cheery Lynn Designs: Garden Gate


I saw this idea on a card making Facebook group that I belong to.  They found the tutorial for the Exploding Hexagon Carousel Box and the template here.


I made this card for a friend's baby shower and I have to say it was a big hit.  Although it may look complicated, it's actually very easy to make.  The hardest part for me was cutting my lines straight.  You could use a paper cutter or an electronic cutting devise, but I used plain old scissors.  The above photo is the card completely open.

I used Die-Versions Sweet Wordlets to go around the outside panels to spell out "Welcome Sweet Baby" and the Die-Namites Baby Clothesline for the inside panels.  These were cut out of white cardstock and colored with Spectrum Noir Sparkle markers.


I don't have a baby crib die, so I used the Cheery Lynn fence and gate dies to create my own crib.

The little decorations on the crib (the anchor and hearts) are some of the negative pieces from the Baby Clothesline die cut.

The outside of the box was decorated with another Sweet Wordlets die, a lacey border strip and some ribbon.  I also added a personal note on the bottom of the box.  You could also make one of the panels a pocket and add your note there as well.

This was really fun to create and I can see lots of themes that this exploding hexagon box could be used for, not just a baby card.

You have until April 17 to upload your creation to the Scrapy Land Challenge.  Be sure to visit the Scrapy Land blog to see what the rest of the very talented Design Team members have created for you.