Showing posts with label inlaid glitter technique. Show all posts

Thursday, August 6, 2020

Tutti and Hochanda TV


Hey everyone,  today I'd like to share with you some of the samples I created for the Tutti Designs shows that were on Hochanda TV on July 28.  Both of these shows feature the brand new Christmas dies from Tutti Designs.

You can catch the two shows here and here.  On the second show, I was SO excited that the presenter and the crafter gave me a shout out at the 22:03 mark regarding the above card.

The card above was created using the glitter inlay technique with the Stitched Nesting Ovals and the Candy Canes die. The glitters were various shades of Fairy Hugs microfine glitter.  (😍 this glitter.)

Here are some of the others that were shared on the shows:

This one incorporates the Snowman Silhouette and the Holiday Van.

Here I used the Poinsettia Candle and dry embossed it.  Then I colored the raised areas with Copic markers.

Here's a close up of the embossing.

For this I've used a pre-printed tag and the Holiday Grid die.

Up next is a shaker card created with the Stitched Nesting Hexagons and the Snowman Silhouette.

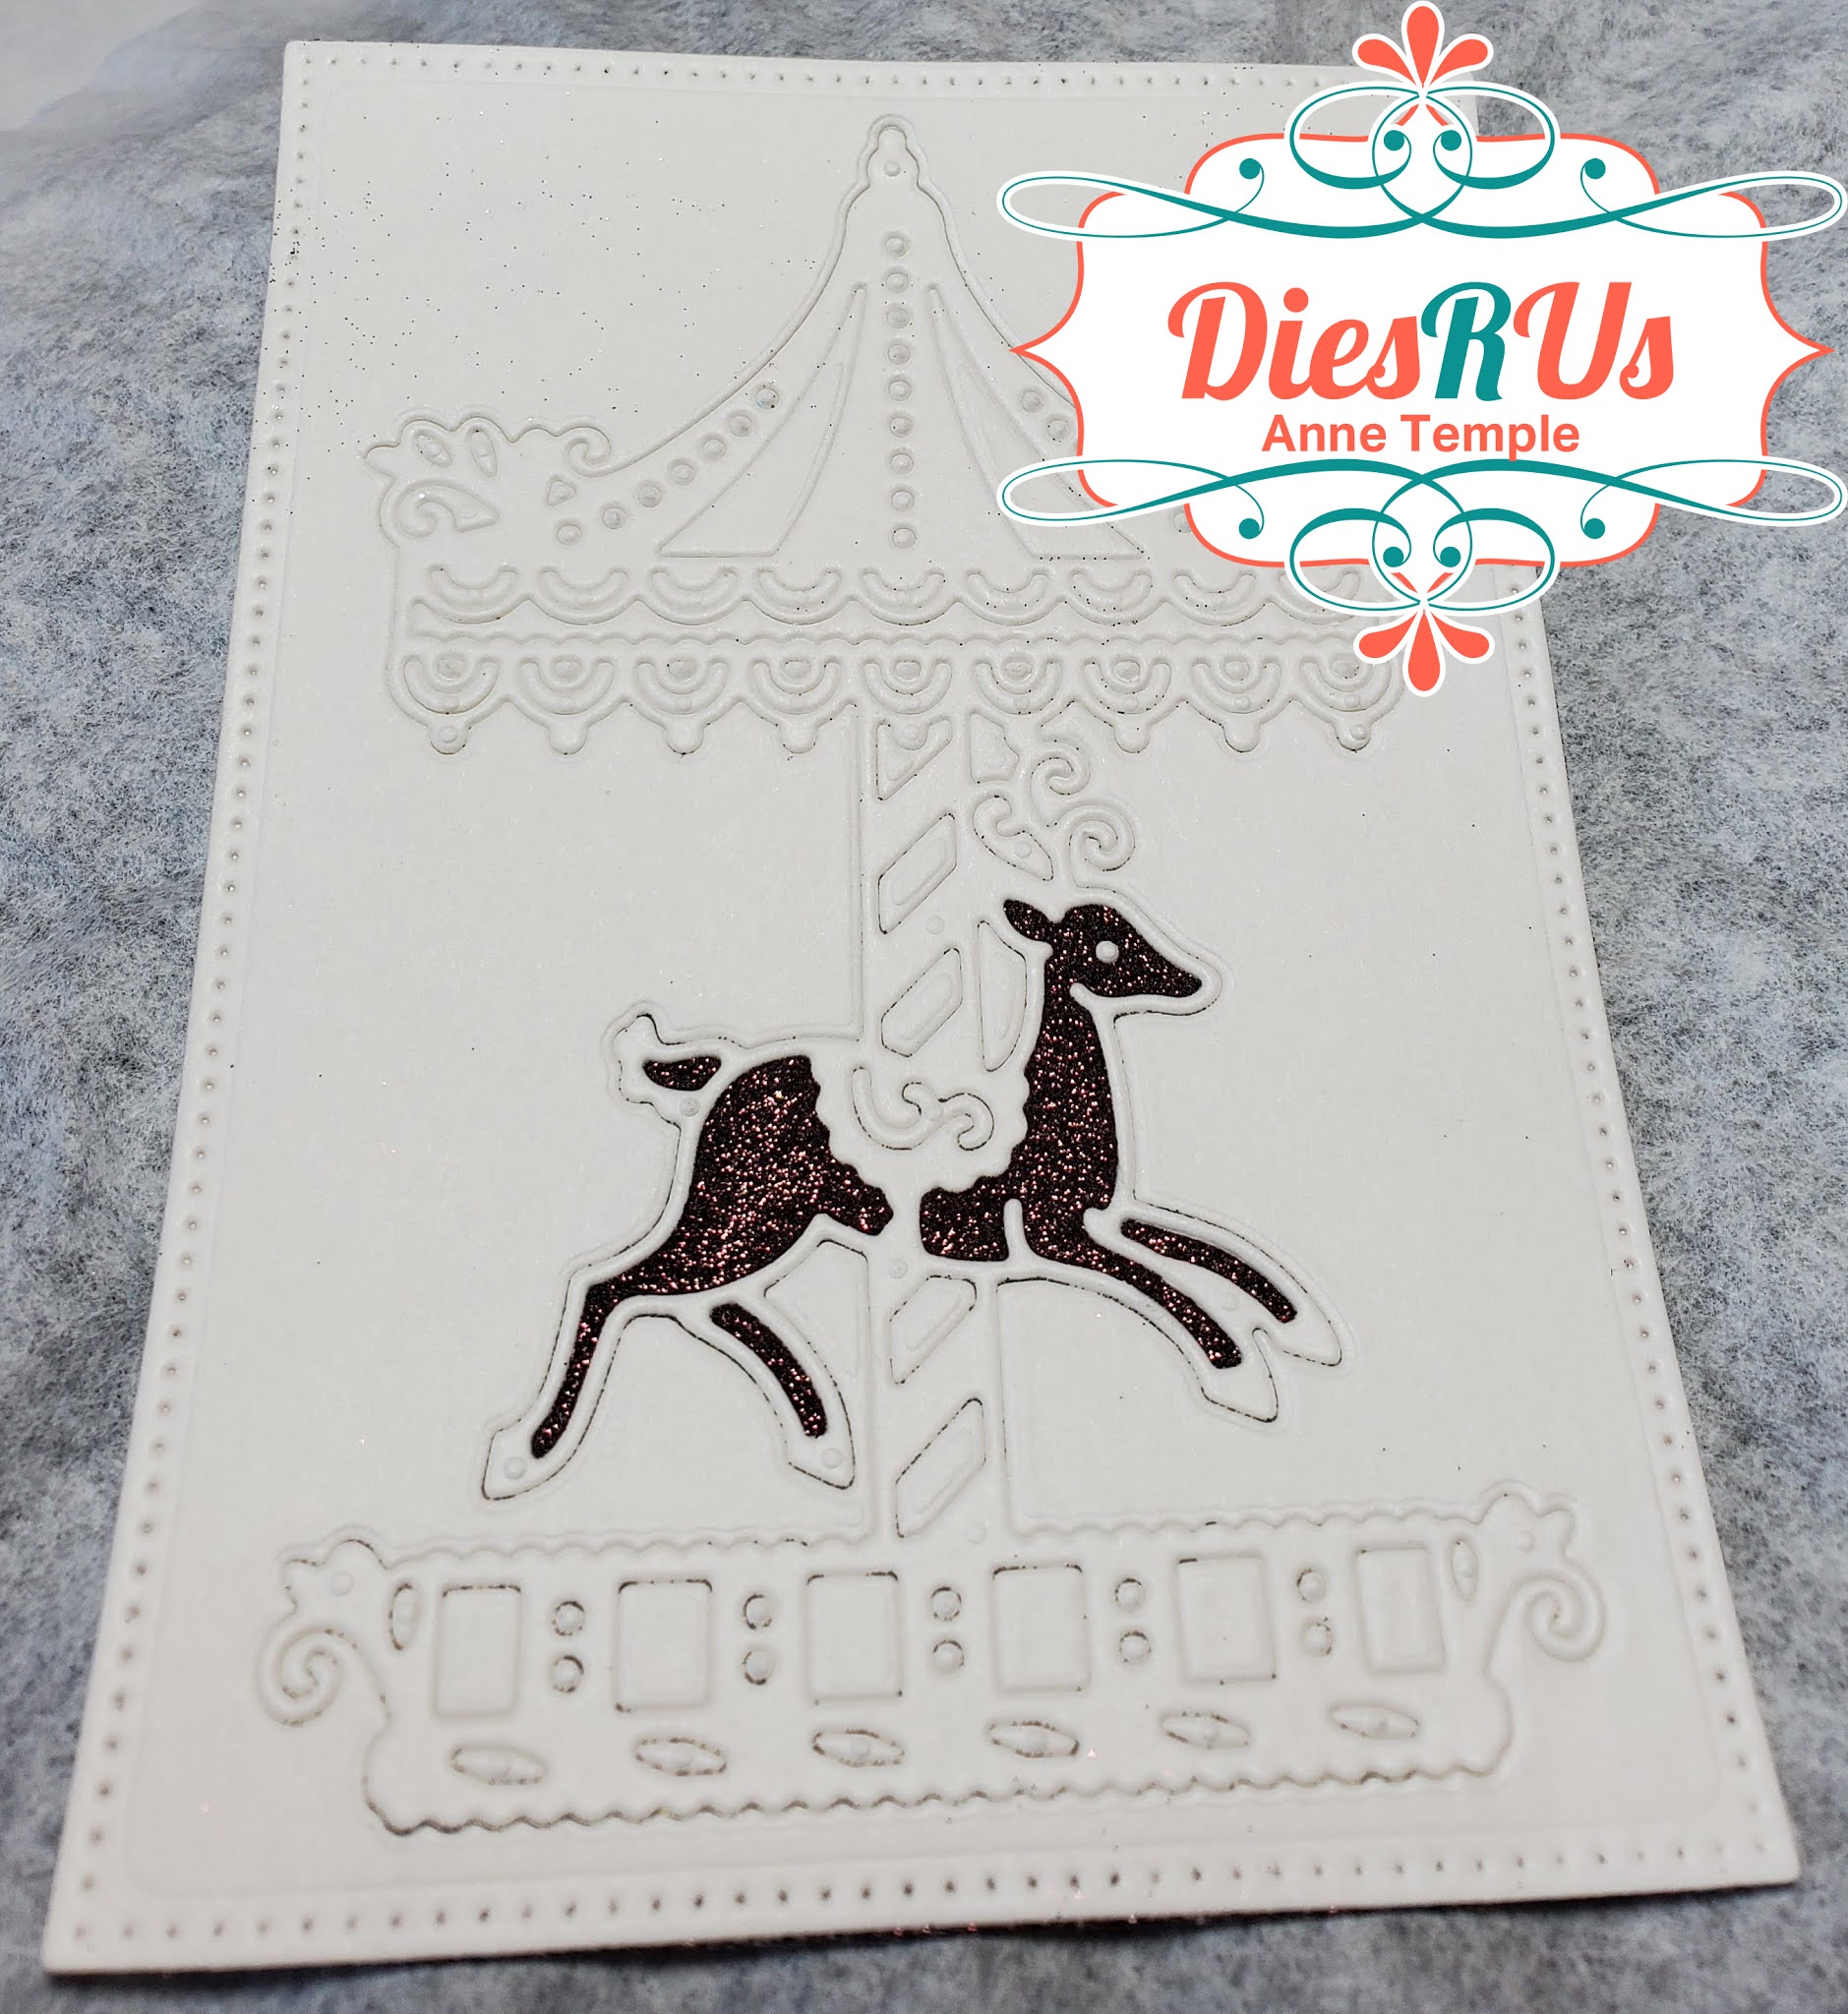
For this card, I used the glitter inlay technique, various shades of Fairy Hugs glitter, and the Reindeer Carousel die.

The Dotted Nesting Rectangles and the Candy Canes dies, along with matte mirrored cardstock, were used for this simple, but elegant card.

Holiday Grid, Cross Stitch Nesting Banners, and the JOY dies were used for this slimline card.
This fun ornament was designed using the Scalloped Nesting Circles and the Cones and Branches die. Lots of shimmer was added with Spectrum Noir sparkle markers. This die is so versatile and can be used for almost any season, not just at Christmas.

The Poinsettia Candle die was die cut from white cardstock and colored with Copic markers.  I love how you can raise parts of the pine cones to add automatic dimension.

For the next two, I used the Ornament Circle and die cut it out of two different colors of mirrored cardstock. Then I paper pieced into the opposing colored frames.

This one also incorporates the branches from the Cones and Branches die.

And lastly, this quick and easy card uses the packages from the Holiday Van die and printed cardstock.  

Be sure to watch the Tis The Season for Tutti shows to see all the amazing samples from the Designers!


Until next time,


Monday, August 3, 2020

Reindeer Carousel {DRU Insp}


Today I'd like to share this gorgeous Christmas card I created for the Dies R Us Inspiration team.  

The following dies were used to create this glitter inlay card:


This card is a bit time consuming, but well worth the effort. It looks stunning in person. To start out, you need to add a piece of double sided adhesive sheet to a thick cardstock. This will allow the detailed die to cut through the protective covering on the adhesives sheet, but not all the way through to the back. It does allow the straight edges of the Rectangle die to cut through. If it doesn't quite cut all the way through, use a pair of scissors or x-acto knife to cut through the areas that didn't get cut. On the flip side, if your decorative die does cut all the way through to the backside, just add a piece of regular tape to the back to hold it in place


The next step is to decide what colors of glitter you want to use and where you want them to be.


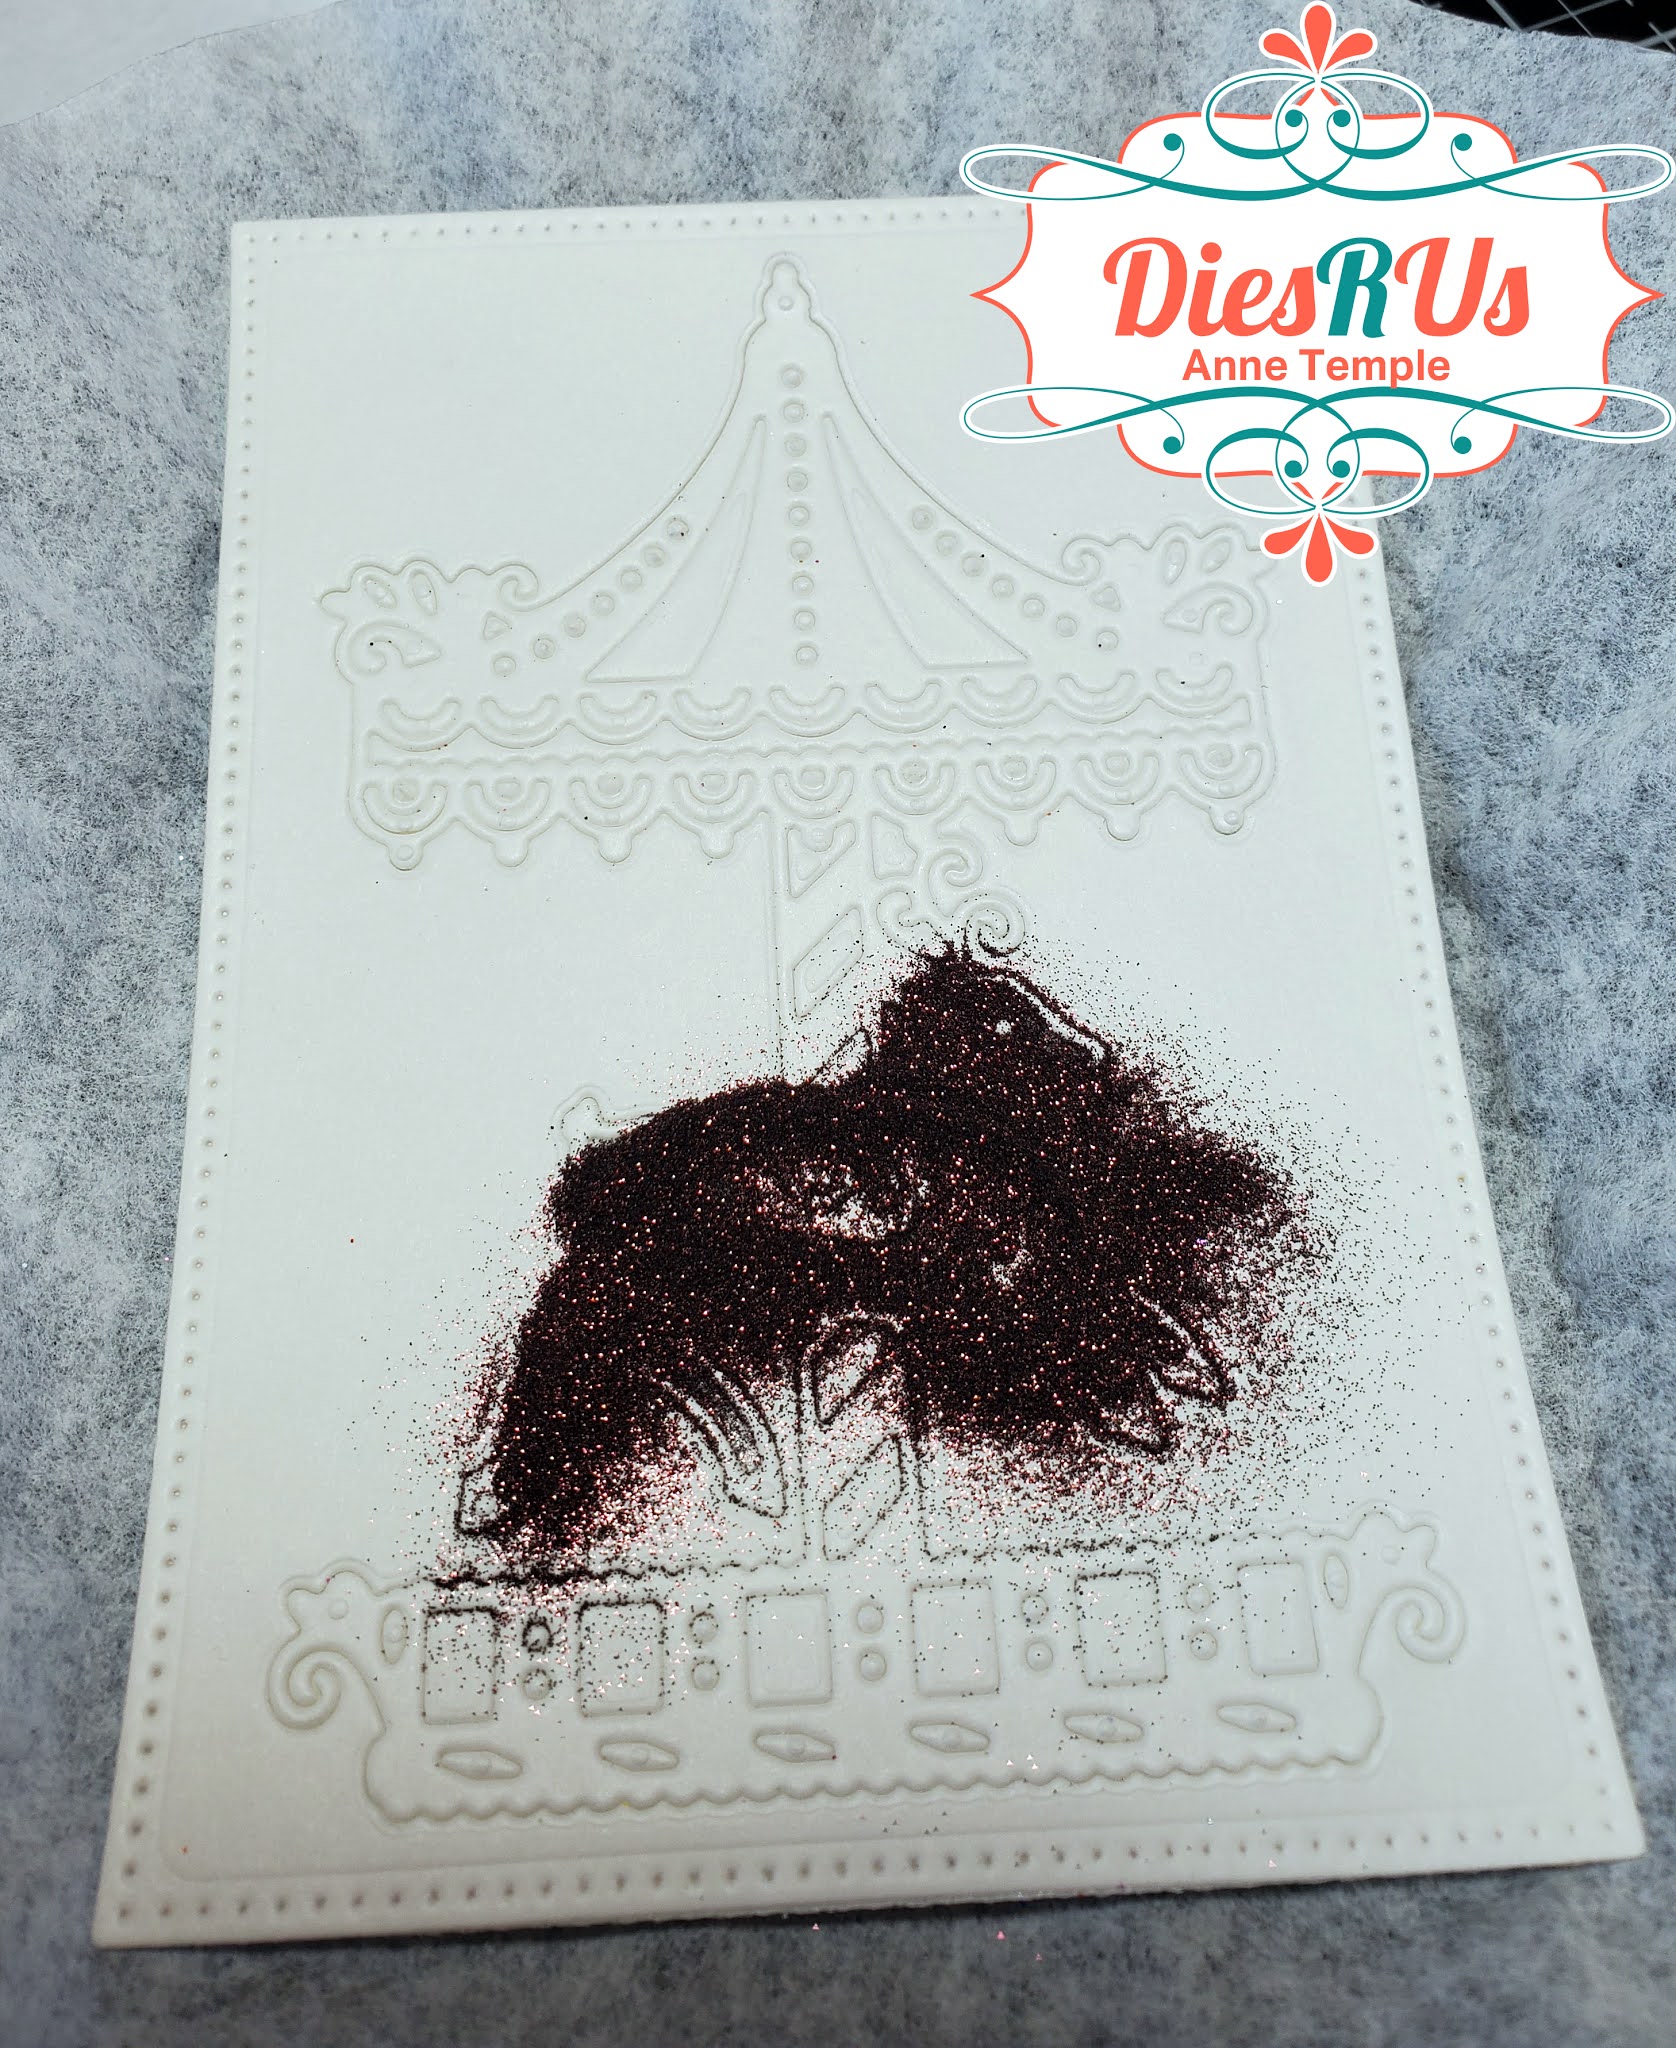
Once you have your glitters ready, begin by weeding off specific sections of the protective layer to expose the adhesive.  I began with the reindeer. If you look carefully, you can see that the exposed adhesive is shinier than the rest of the piece.


Add your glitter to the adhesive and burnish it in with your fingertip.


Add the excess glitter back into your container and brush off any remaining glitter pieces. Continue these steps, exposing specific color areas at a time, until all of your design is covered with glitter.


The final step in the glitter inlay process is to remove the protective sheet around the design and add your background color. I decided to use a holographic white color that has undertones of blue in it.


For the edges of my card base, I wanted to bring in the touch of gold, so I added some 1/4" double sided tape to the edges of my cardstock.


The red mat was cut longer so that I could add a couple strands of twisted ribbon to the back. This was then adhered to the green mat and card base.

Here's one final look at the completed project.


I hope you've enjoyed today's project.  Head back to the Dies R Us Blog tomorrow for more fabulous inspiration from the DRU Inspiration design team.


Don't forget to come join in the fun at the Dies R Us Challenge Blog.  There's a new challenge theme offered on the 1st and 15th of each month and one lucky randomly drawn winner will receive a $10 gift certificate to the Dies R Us Store.  For your convenience, all the important Dies R Us links are provided below.

click below for:


Thanks so much for stopping by.


Saturday, January 23, 2016

Rays of Sunshine {published - Rubber Stamp Madness}


Published in Rubber Stamp Madness magazine, Spring 2016 edition. 


I am beyond thrilled to have a couple of cards published in this edition.  This one includes two full pages (plus a little more on a third page) of step by step instructions and photos (pages 13 - 15)!

Using the "painting with glitter" technique (also known as inlaid glitter technique or the kiss cut technique) onto a piece of Sparkle N Sprinkle Super Adhesive Sheet die cut from the Ray of Sunshine cutting plate by Taylored Expressions,  I added the following SNS glitters to create my sun: Cherry LemonadeLemonade,  Waterfall, and Rapture Blue.  The glitters were sprinkled onto the exposed adhesive and burnished into the adhesive starting with the lighter colors and finishing with the darker shades.

The Garden Silhouette rubber stamp from Sparkle N Sprinkle was stamped onto a piece of Embossable Clear Acetate with VersaMark and then heat set using Midnight Madness embossing powder.  I fussy cut around the image and adhered it in front of the rays of sun.  Although it's hard to tell in the photo, the silhouette is very sparkly as there is glitter in the embossing powder.

To see the step-by-step photos and complete instructions, you'll need to purchase this edition. :-)