Showing posts with label Graphic 45. Show all posts

Monday, April 27, 2020

Pitcher of Flowers


Hey everyone, I have a for-fun project to share with you today.  I used the Pitcher of Flowers svg from Simply Crafty SVGs.

I made several of these to send out to friends.  I changed the design just slightly by adding a handled pitcher to the back of the card to mirror the one on the front.

The file gives you the option of cutting a slightly smaller non-handled image so that you can write a message on it.  I decided not to do this and added a separate note to the envelope.  That way, this can be displayed without everyone seeing what I wrote 😀.

Graphic 45 cardstock was used for each of the pitchers and scraps for everything else.  I tried making different colored flowers (you can see a couple of these in the last photo) but I liked the white ones the best.


I added a bit of bling to the stems on this one using a Spectrum Noir Sparkle marker.


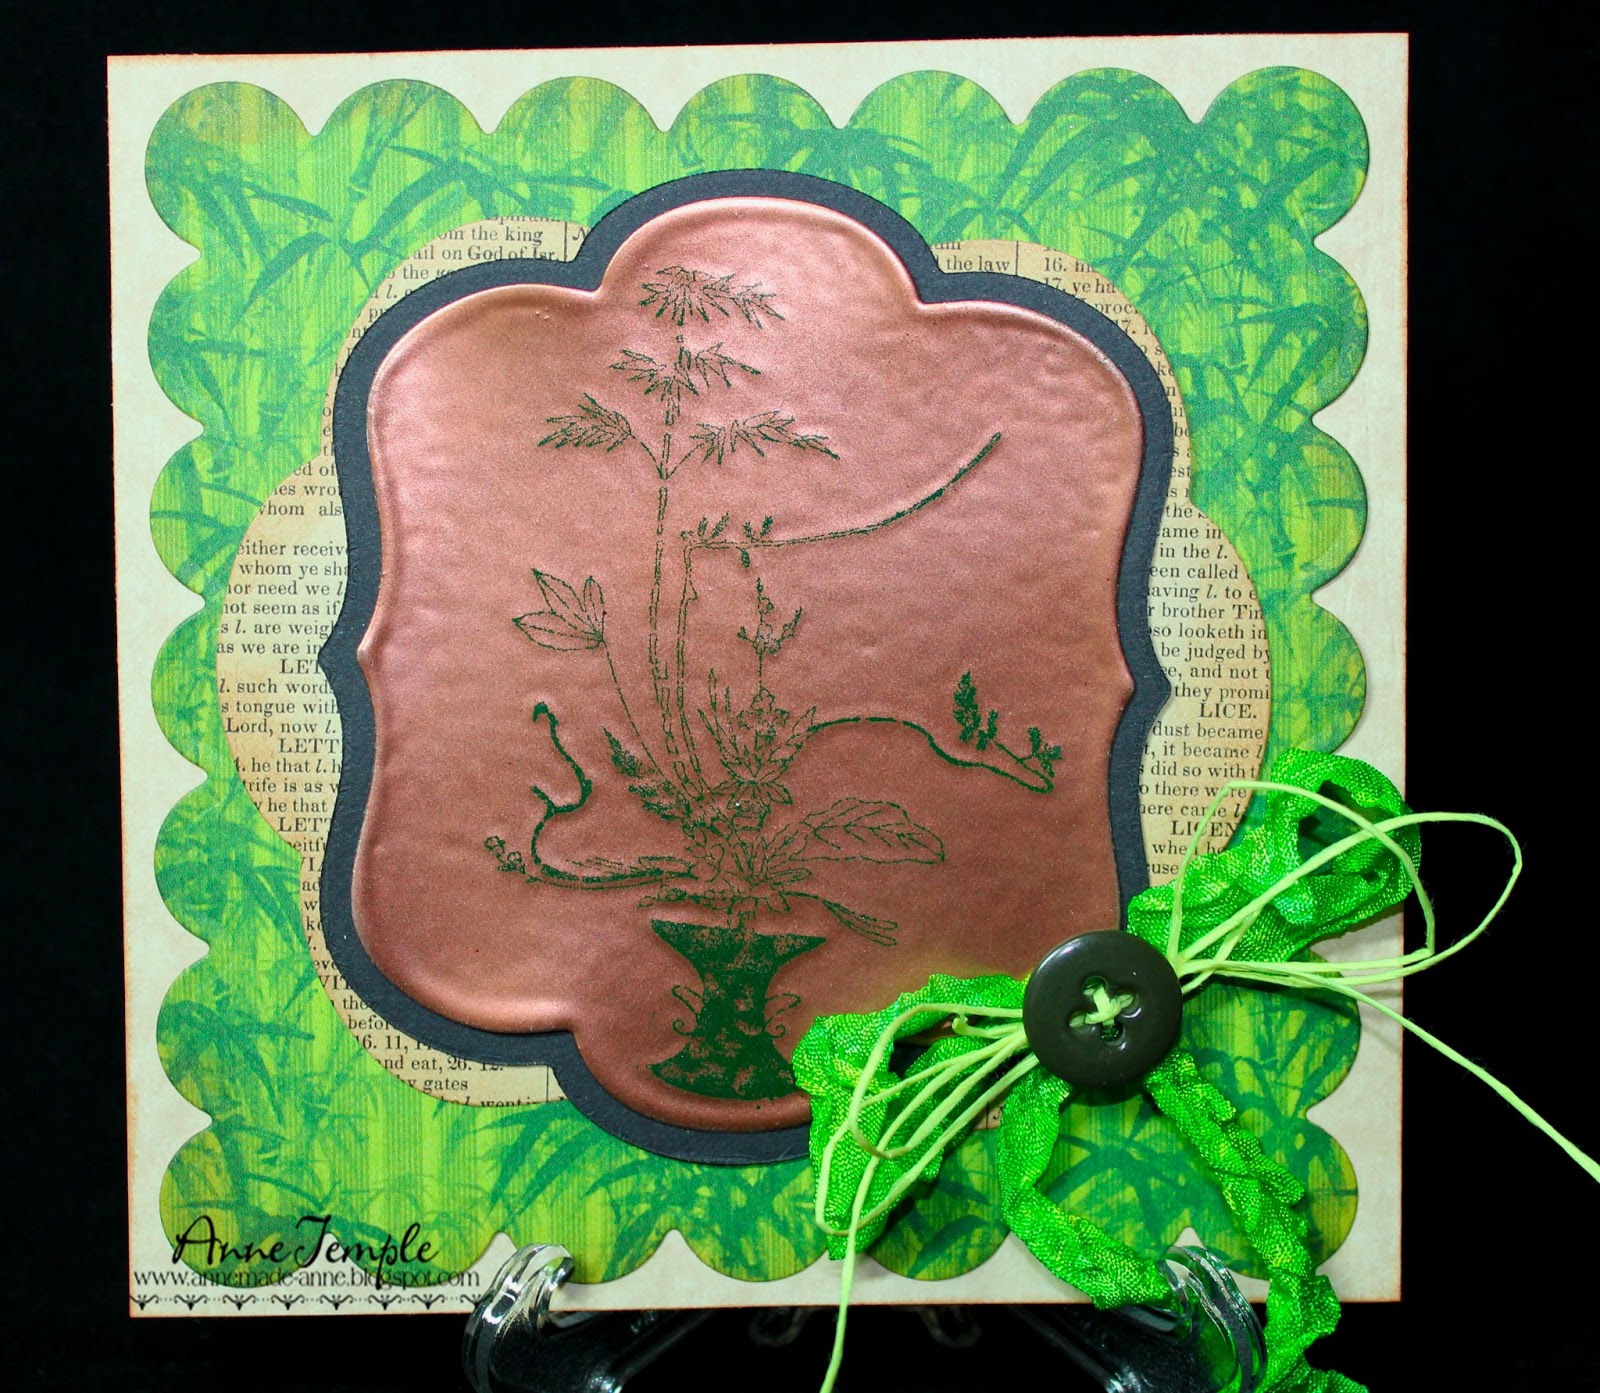
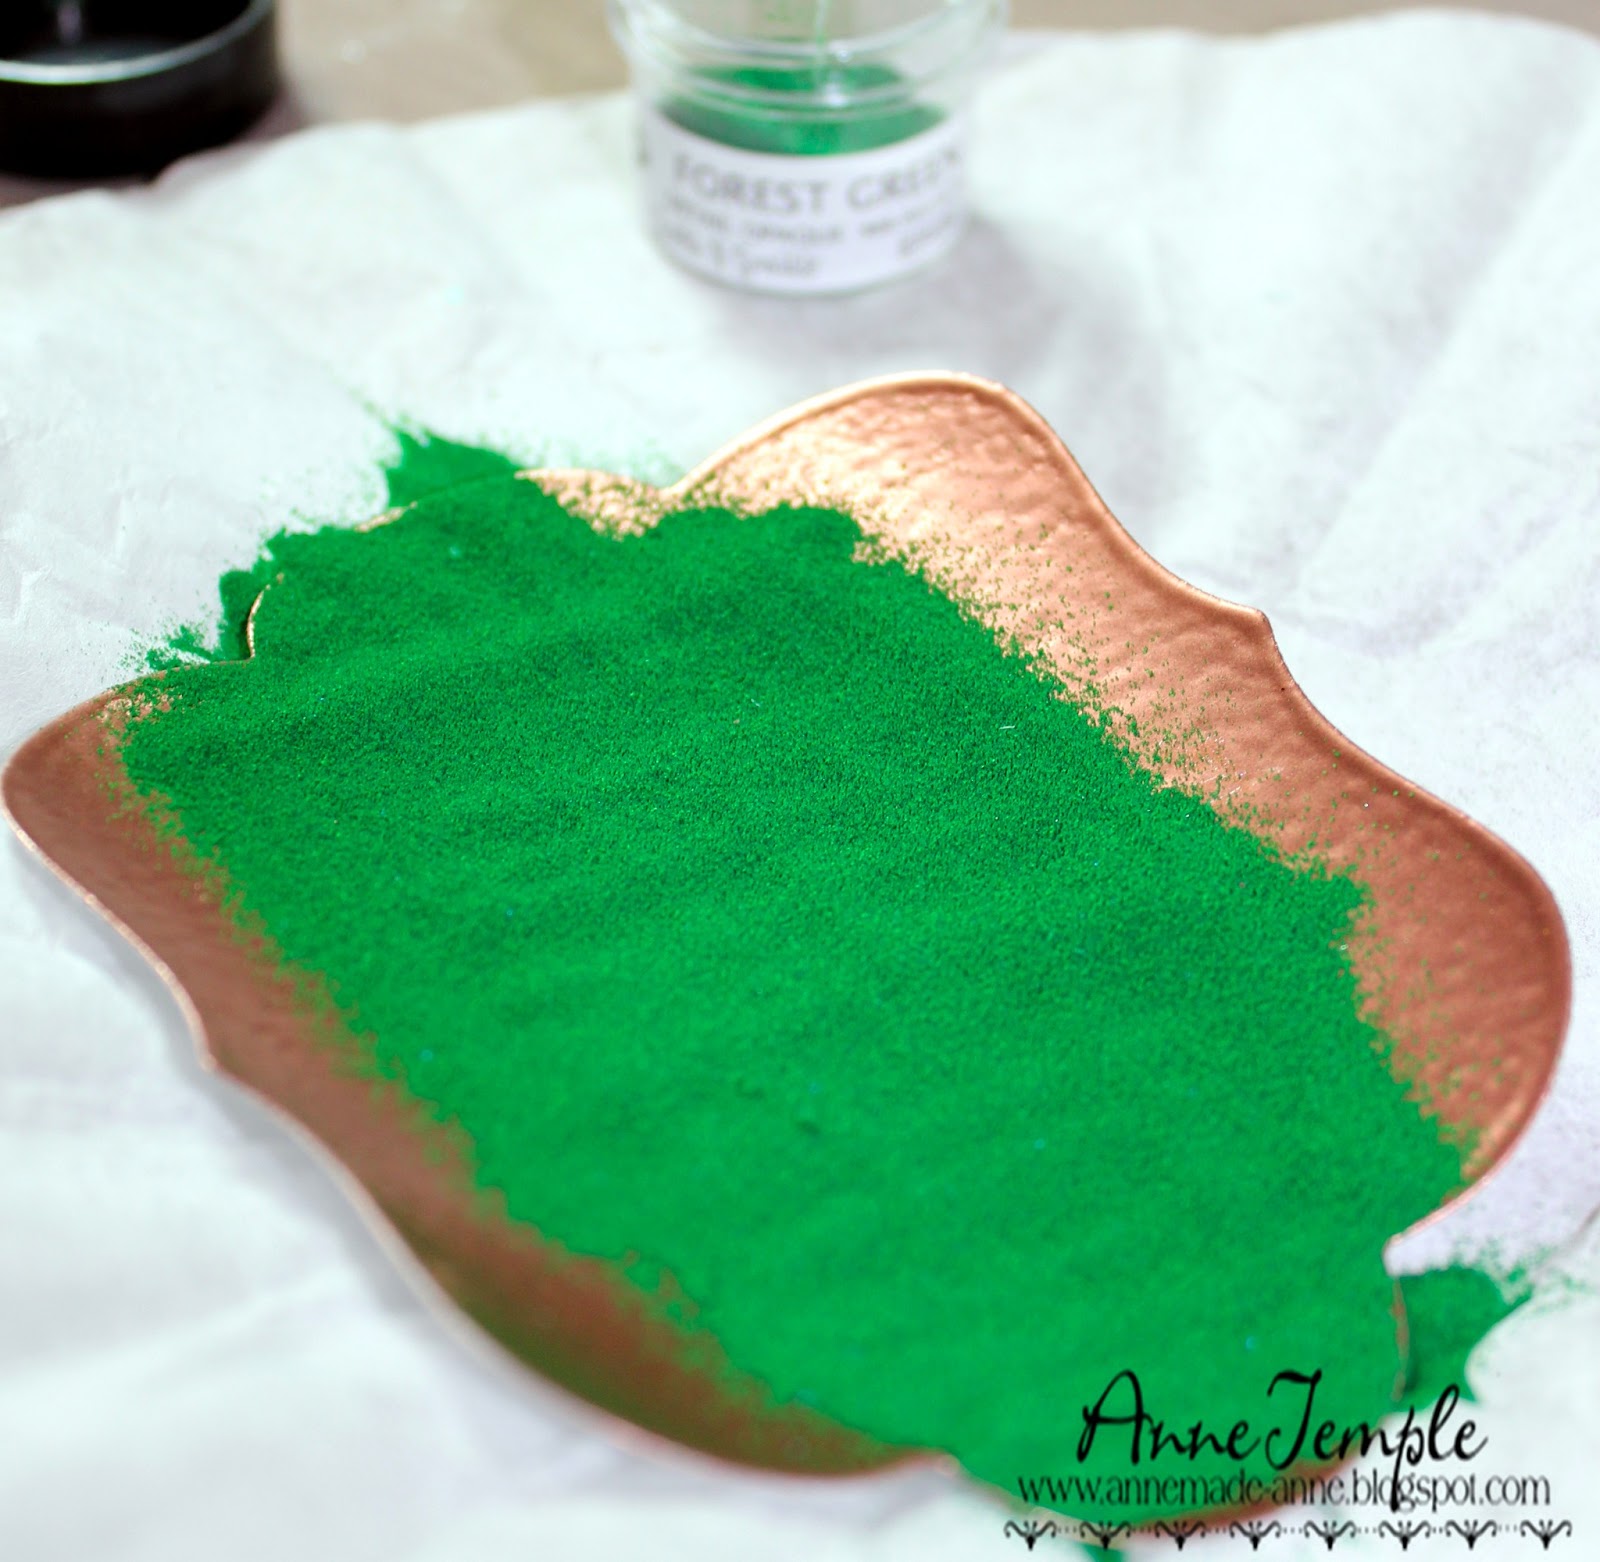
For this one, not only did I use some of the colored flowers, I also added thick clear embossing powder to the pitcher before adhering it.  This gives it more of a true ceramic or porcelain look.  Of course, that didn't show up in the photos 😂.


This photo gives you an idea of how wide this is.


One of the great features is that this folds flat, so it can easily be mailed in an envelope without adding extra postage.


Until next time......


Wednesday, April 18, 2018

Sweet Baby {Scrapy Land #88}


It's the third Wednesday of the month and you know what that means....time for a brand new Scrapy Land Challenge!  The theme is always Anything Goes using any brand of die that Scrapy Land sells.  (You can see just how many brands there are here.)

Today I created this baby card for a friend's daughter who is having her first child.  The happy couple decided not to find out the baby's gender, so my card can go either way😀.

Each individual rectangle was die cut from a Tonic Studios set (Mixed Edge Rectangle Layering Basics) and the images in the center of each of the rectangles are from Die-Versions (Baby Icons; Sweet Wordlets: Baby; Sweet Wordlets: Sweet).  They were die cut from white cardstock and colored with Copic markers.  

A couple of Sue Wilson Designs embossing folders (Climbing Vines; Quilted Flowers) were used to dry emboss the mats under each baby icon.  Lil' Inker Designs (Quilted Stitched Pattern die) was used to give the Graphic 45 background paper a vintage quilted look.  


On the inside, I added a couple more Baby Icons and die cut a couple mats for the message.


Now it's your turn to play along with the Scrapy Land Challenge.  You have until April 29.  Two winners will receive a $10 gift certificate to go shopping at Scrapy Land.


Thursday, February 23, 2017

Lullaby


Today I'm sharing a baby card using some of the sweet new Baby Icons die set (there are a total of nine dies in this set) as well as the new Elegant Border die, both from Die-Versions.


The design of this card has a little treat box on top of an A2 sized card and was shown to me by my friend Ann.  She doesn't have a blog, but she freely shares her ideas 😃.  To create the box, I used Graphic 45 papers and the We R Memory Keepers Gift Box Board.  (I used the 1.75" x 1.75" box size.)


Each of the elements were die cut from Graphic 45 papers and accented with Distress Ink (Vintage Photo).


To the left is a close up of the butterfly and the Elegant Border.  Waterscape glitter from Sparkle N Sprinkle accents his wings.


The rattle was accented with Spectrum Noir Sparkle markers and I used the de-bossed side of the baby feet because I liked that pattern better.  The embossed side really shows the little popcorn toes 😁.


The binky and baby bottle was die cut twice - once from the patterned cardstock and once from some really heavy plain cardstock for extra stability.  I added a 3D pop dot to hold the binky in place on top of the box and covered the remaining exposed adhesive with more Waterscape glitter.

The extra layer of cardstock on the baby bottle gives it extra dimension on the side of the box.  Both pieces were accented with Copic markers and Spectrum Noir Sparkle markers.


Be sure to visit the Die-Version blog to see the wonderful creations of the rest of the team.  On a final note, I'm really sad to say this will be my last posting for Die-Versions.  I have been on the team since it's inception in 2012 and I have enjoyed every minute of it!  Although I will no longer be on the team, you will still see lots of DV dies on my future projects 😁.


Wednesday, April 6, 2016

Exploding Hexagon Baby Card {Scrapy Land #39}


Exploding hexagon box card open


Can you believe it's already April?  Time does fly!!  That means is also time for a new Scrapy Land Challenge.  The theme for this first Wednesday challenge is Anything Goes using any brand of die that Scrapy Land sells.

Exploding hexagon box card closed


The following dies were used to create this 3D card:


Die-Versions: Sweet Wordlets - Welcome
Die-Versions: Sweet Wordlets - Sweet
Die-Versions: Sweet Wordlets -  Baby
Die-Versions: Sweet Wordlets - It's A Boy Girl
Die-Versions: Lacey Dots
Die-Namites: Baby Clothesline
Cheery Lynn Designs: Victoria Picket Fence
Cheery Lynn Designs: Garden Gate


I saw this idea on a card making Facebook group that I belong to.  They found the tutorial for the Exploding Hexagon Carousel Box and the template here.


I made this card for a friend's baby shower and I have to say it was a big hit.  Although it may look complicated, it's actually very easy to make.  The hardest part for me was cutting my lines straight.  You could use a paper cutter or an electronic cutting devise, but I used plain old scissors.  The above photo is the card completely open.

I used Die-Versions Sweet Wordlets to go around the outside panels to spell out "Welcome Sweet Baby" and the Die-Namites Baby Clothesline for the inside panels.  These were cut out of white cardstock and colored with Spectrum Noir Sparkle markers.


I don't have a baby crib die, so I used the Cheery Lynn fence and gate dies to create my own crib.

The little decorations on the crib (the anchor and hearts) are some of the negative pieces from the Baby Clothesline die cut.

The outside of the box was decorated with another Sweet Wordlets die, a lacey border strip and some ribbon.  I also added a personal note on the bottom of the box.  You could also make one of the panels a pocket and add your note there as well.

This was really fun to create and I can see lots of themes that this exploding hexagon box could be used for, not just a baby card.

You have until April 17 to upload your creation to the Scrapy Land Challenge.  Be sure to visit the Scrapy Land blog to see what the rest of the very talented Design Team members have created for you.


Wednesday, April 23, 2014

Baby Shower Invitation


Have you checked out this month's new release from Die-Versions?  If not, then you definitely should.  This shaped card incorporates three of the newest dies: Baby Shower Express Banner, Love This Express Edges Mini, and the Hexagon Punch Border.  The lace around the leg openings was die cut from the Lacey Dots die.

One of the things I normally do when I get a new batch of dies in is to die cut them right away from plain copy paper and let them sit on my desk.  That way, the ideas start to percolate slowly until something comes together.

I knew I wanted to make a diaper shaped card when I cut the banner, but wasn't sure what to do with the hexagon punch border.  Then it hit me that this reminded me of the velcro fasteners on the sides of a diaper, and the rest is history :-).


To create this card, I started with some older Graphic 45 papers (Little Darlings), hand drew the diaper shape and cut it out.  Distressed embossing technique was applied along all the edges using Sparkle N Sprinkle Sea Foam embossing powder.  I also heat embossed the Love This Express Edge Mini with Sea Foam embossing powder.  The baby image, which is part of the G45 paper pad, was hinged so you could write the details of the baby shower underneath and still have a flat invitation for mailing.

Saturday, January 18, 2014

Chinese New Year


We have a new challenge at Time 4 Scrap.  The challenge lasts for two weeks and the theme is Chinese New Year.  For inquiring minds... Chinese New Year begins Jan 31 and it's the Year of the Horse.


Our sponsors are Lacy Sunshine and A Day for Daisies.  I chose a digi image called 1920's Curly Sue Evening Out from Lacy Sunshine and colored her with Copic markers.


I added a bit of sparkle to her accessories with Sparkle N Sprinkle Silver Leaf Tinsel glitter, Cloud Nine velvet glitter, and Gypsy Red velvet glitter.  The sentiment was die cut from cardstock colored with the same Copic markers as the dress using the Die-Versions Missy Micro font die.

The front of this card is actually acetate and everything except the diamond background is adhered to the front.  I fussy cut the Chinese lanterns from Graphic 45 papers (Bird Song collection).  The Diamond Background, a Die-Versions die, was given a touch of bling by heat embossing it White Spark embossing powder from SNS.

Be sure to check out what the rest of the design team has created as well.


Monday, December 23, 2013

Happiness


I wanted to do the Embedded Embossing (also known as Molten Pearls) technique again and I thought the Geraniums silhouette image from Sparkle N Sprinkle would be a good stamp to use for this technique.

I started off by die cutting my labels die and covering it with VersaMark and heat embossing it with Firecracker Red embossing powder.  I repeated this process again with the Firecracker Red.  On the third repeat, I used Clear embossing powder instead of the Firecracker Red.  This gives sit a really glossy look, similar to the way Glossy Accents does when dry.  Next I stamped the Geranium silhouette and heat embossed with Black embossing powder, heating it throughly until it melts into the background.

Die cut the tag (cut in half) and follow the same steps as before, using the sentiment from the Shabby Chic Birdhouse rubber stamp set.

The Dee's Distinctively (Lattice 1) die was cut out of SNS Sticker Paper and covered with Swan Wing tinsel glitter.  The Poppystamps die was also cut out of Sticker paper and covered with Citron Green glitter.  (This is more of a gold than a green and matched the design in the paper perfectly.)  I folded the top of the die cut like an accordion for added dimension.  The base and mat were cut with Spellbinders Grand Labels Four dies and the papers are from Graphic 45's Bird Song collection.

Sunday, September 15, 2013

Botanical Molten Pearls


I've discovered another technique I haven't tried - Molten Pearls.  (You can see a video of the technique here, in the SNS Tips and Techniques section.)    And what makes it even better is that it's published in the Creative Color for Card Making 2013 edition of CardMaker magazine!  (Squealing with delight! You can see it for youself on page 100.)   I've done a step by step photo tutorial as well.


To create this card, I used the Bamboo Floral Vase stamp from Sparkle N Sprinkle.  You can also get it in the Asain Leaf Robe stamp set.


First you need to decide what shape you want the base to be.  I used a Lifestyles Crafts nesting die set that came as part of a package for my shape, inked it up with VersaMark, and covered it with Copper embossing powder.  It may take two or three times to get the desired effect your looking for.  It should be shiny and smooth.


Once you're happy with it, ink up your image with Versamark and stamp it directly onto the embossed shape.  Cover it with a different color embossing powder (I used Forest Green), and heat emboss.  The new layer melts into the base layer and looks so cool.


The photo on the right is what it looks like when you're finished.

To complete the card, I matted it onto black cardstock using the next size up nesting die and used the third size up to cut a piece of vintage book page for my larger mat (I just turned it on it's side).  The seam binding ribbon was colored with Dylusions Ink Sprays and I added a vintage button threaded with paper floss on top.
If you haven't tried this technique yet, you really should.  I couldn't stop with just one card.

Friday, August 2, 2013

All the Little Things


 This month's Die-Versions new release has more great Express Edges.  The Congrats is so versatile and can be used for lots of different occasions.  I decided to make a baby card using a digi from Create with TLC and Graphic 45 papers.

After printing the image, I die cut my Congrats at the top and colored everything with Copic markers.  I also added Glossy Accents to the individual letters as well as the baby rattle.  The Martha Stewart punch was given a bit of shimmer with Sparkle embossing powder form Sparkle N Sprinkle.  One other trick I did was to re-color the polka dotted cardstock.  It didn't quite match the colors in my image, so I took one of the Copic BGs and colored the whole panel - instant matching.

Head on over to the Die-Versions Blog and DV Facebook page to see what the rest of the team is up to.


Wednesday, December 5, 2012

Feel Better Soon


This was a really fun card to make as I have lots of glitter everywhere and I created my own flourish with a pearl pen.  The sentiment and image are from the Asian Leaf Robe stamp set from Sparkle N Sprinkle.

SNS's Cerulean embossing powder was used to emboss the vase onto watercolor paper.  I then used Distress markers and a water brush to color the image.  Evening Glow glitter was used to add sparkle to the border dies from MFT as well as to the sentiment.  The seam binding ribbon was dyed to coordinate with Distress Stains.  For the flourish, I lightly penciled the design I had in my mind and then used a Viva Decor Pearl Pen to add the pearls on top of the pencil marks.  For the most part, the pencil marks were covered, but I just erased the ones that weren't after everything was dry.  The background paper is from Graphic 45.

You can find additional details about this card in the Sparkle N Sprinkle art gallery, here.  Here's a trick if you want to see all the works by any of the SNS designers: just type their name in the search box under Art Gallery.