Wednesday, September 11, 2024

It's been awhile...

 I can't believe it's been a year since I last posted here. I have been posting to my Facebook and Instagram accounts though 😁.  


Lately, my crafting time has been spent working on Christmas cards. Here is one of them that has a fun, little shaker element on it. I've used Spellbinders and Lisa Horton Crafts products to create this. 


Until next time, 

Anne


Saturday, September 16, 2023

Autumn Greetings


Hey everyone, I had so much fun playing with the new Hero Arts monthly project kit. The classic kit includes inks, a die, layering stencils, stamps, and more.

For this project, I die cut everything in white cardstock and blended the inks that came in this kit. I kept the negative piece from the die cut and inked it yellow and then stamped my sentiment.

I wanted a faux shaker card, so I added dimensional tape to the focal layer so that  the greeting was recessed onto the card base. I added some sequins and a cute button to my sentiment strip.

I'm entering this into the Stay Crafty with a Blog Named Hero: September 2023 Challenge.


Until next time,


Friday, July 21, 2023

Hugs


Stitching on card fronts is all the rage right now. This one is by Concord and 9th. This set (dies and coordinating stamps) was one of the many things we received in the C9 Summer Camp 2023 Event kit.  If you haven't joined one of their virtual events, I highly recommend it. 👍


Until next time,


Thursday, July 20, 2023

Birthday Wishes


Love this new stencil/die/stamp bundle from Concord and 9th called Cottage Garden. I created this fun shaker card using the stencil and dies. The frame is from PinkFresh and the sentiment is by Taylored Expressions.

After completing the stenciling, I die cut the frame from the center and added clear packaging over it to hold my sequins and taped the edges to the back.  Then I adhered the remainder of my stenciling to a card base and popped up the center with adhesive foam.

I also die cut the flower using the C9 die set and added it to the front of my shaker.  The sentiment completes the card.


Until next time,


Wednesday, July 12, 2023

Joy


I have a CAS Christmas card to share with you today, all made with Spellbinders products. The card front was embossed using the Scenic Poinsettias 3D embossing folder , the "twine" is a die (Sealed Twine), and the wax seal is from their new Wax Seal club of the month. The camera didn't quite capture the depth of the dimension from this folder. It is really fabulous in person.

I played with wax seals when i was a teenager, using the old dripping candle to make the puddles instead of the wax beads. It's just as fun now as it was back then, only easier because you are melting the wax beads in a little spoon.

So, my first Christmas card of the year is now done! One down and tons to go 😄.


Until next time,


Monday, July 10, 2023

Needle Little Love?


This fun slimline card was created using one of the Concord and 9th dies that came in the C9 Summer Camp 2023 kit. 

I die cut the cactus a couple of times so that I could add more "arms" to it. The pot was also die cut several times to give added dimension. Such a fun die set to use.


Until next time,


Friday, July 7, 2023

Celebrate You


 This birthday card combines several different companies for a fun mash-up. The flowers are by Altenew and I die cut the background of the flowers out of velum and colored with Copic markers. Then the flower outline was adhered on top of the velum. 

The background paper is by Honey Bee Stamps and all of the sentiments are from Taylored Expressions.


Until next time,


Thursday, July 6, 2023

Thank You


This quick and easy card uses the negative portion of a die cut. I participated in the Concord and 9th C9 Summer Camp 2023 event (my third) a couple of weeks ago and one of the projects needed a couple of black "thank you" die cuts. I though it would make a cool card front to repeat the sentiment. I saved all the little inside letter pieces so I could add them back to the card front. 

To create this, I ink blended their new Dragonfruit ink to a 4.25x5.5 card base. I went from dark to light and then dark again.  I love all the C9 inks and this one is so vibrant.

Once the card front was inked up, I adhered the black negative piece, along with all the little pieces. I also die cut the sentiment out of white to adhere into one of the negative spaces.

Easy peasy! The only hard thing about this card is making sure your thank and you is evenly spaced on the cardstock. I eyeballed that, so it was even easier 😆.


Until next time,


Wednesday, July 5, 2023

For You


This card uses a technique that I haven't done in a while: adding ink directly to an embossing folder.

This is a 3D embossing folder from Altenew that I added ink directly to the folder before sending it through my machine. I love how it adds color to the debossed area and leaves the cardstock color in the embossed areas.

The layered flowers are also by Altenew (Zinnia Layered die set). I went with tone on tone, adding a bit of inking on the edges, and some sparkle in the centers. 

Unfortunately I don't know the name of the manufacturer of sentiment die, as it was given to me. I really like the font though. As you can see, I die cut it twice so that I could add a shadow layer.


Until next time, 


Tuesday, July 4, 2023

Happy birthday


Happy Birthday America! Although I did create a 4th of July card for a friend, I didn't take a photo of it before I rushed to get it in the mail. I thought this birthday card would be a good substitute.

This is another Betterpress Letterpress plate from Spellbinders. This set comes with both the plate for the letterpress as well as dies to cut out the individual letters and the birthday sentiment. I colored the letters with colored pencils.

The background is a Spellbinders embossing folder from their monthly embossing folder club. Although it is called "Waves" and was designed for water themed projects, I thought it also looked like leaves. I blended a light yellow/green ink onto the raised areas for color. I also added a few sequins to finish it off.


Until next time, 


Monday, July 3, 2023

Brighten My Day


This image is a freebie that came with one of my Honey Bee orders. I decided to use it to practice my coloring skills. Added a few sequins and now I have a card to send that will hopefully brighten someone's day.


Until next time,


Sunday, July 2, 2023

All Occasion


This any occasion card was created using the new Betterpress Letterpress system from Spellbinders. I'm here to say all the good stuff you've read about or watched on You Tube videos is absolutely true. 

It's so easy to use the first time around and I love how you can leave it plain or color it with one of your favorite mediums. For this one, I watercolored the image. 

This shaped card was die cut using a Tonic Studios die set. The frame has been heat embossed using embossing powder.  

On the inside, I dry embossed one of the smaller cut-out dies.  This gives you the perfect place to add your message.

I look forward to adding more Betterpress plates to my crafting stash 😀.


Until next time,


Saturday, July 1, 2023

Just Because


It's been a while since I've posted on my blog. I have been adding some of my projects to my Facebook page and to Instagram.  I've been creating, just not posting 😊

I combined several different companies to create this card.  The sentiment is from Taylored Expressions, the fruit is a stamp and die set from LDRS (Little Darling Rubber Stamps) and the background is an embossing folder from Altenew.

I'll be back soon with more projects. Some are clean and simple and some are a bit more complex.


Until next time, 


Friday, January 27, 2023

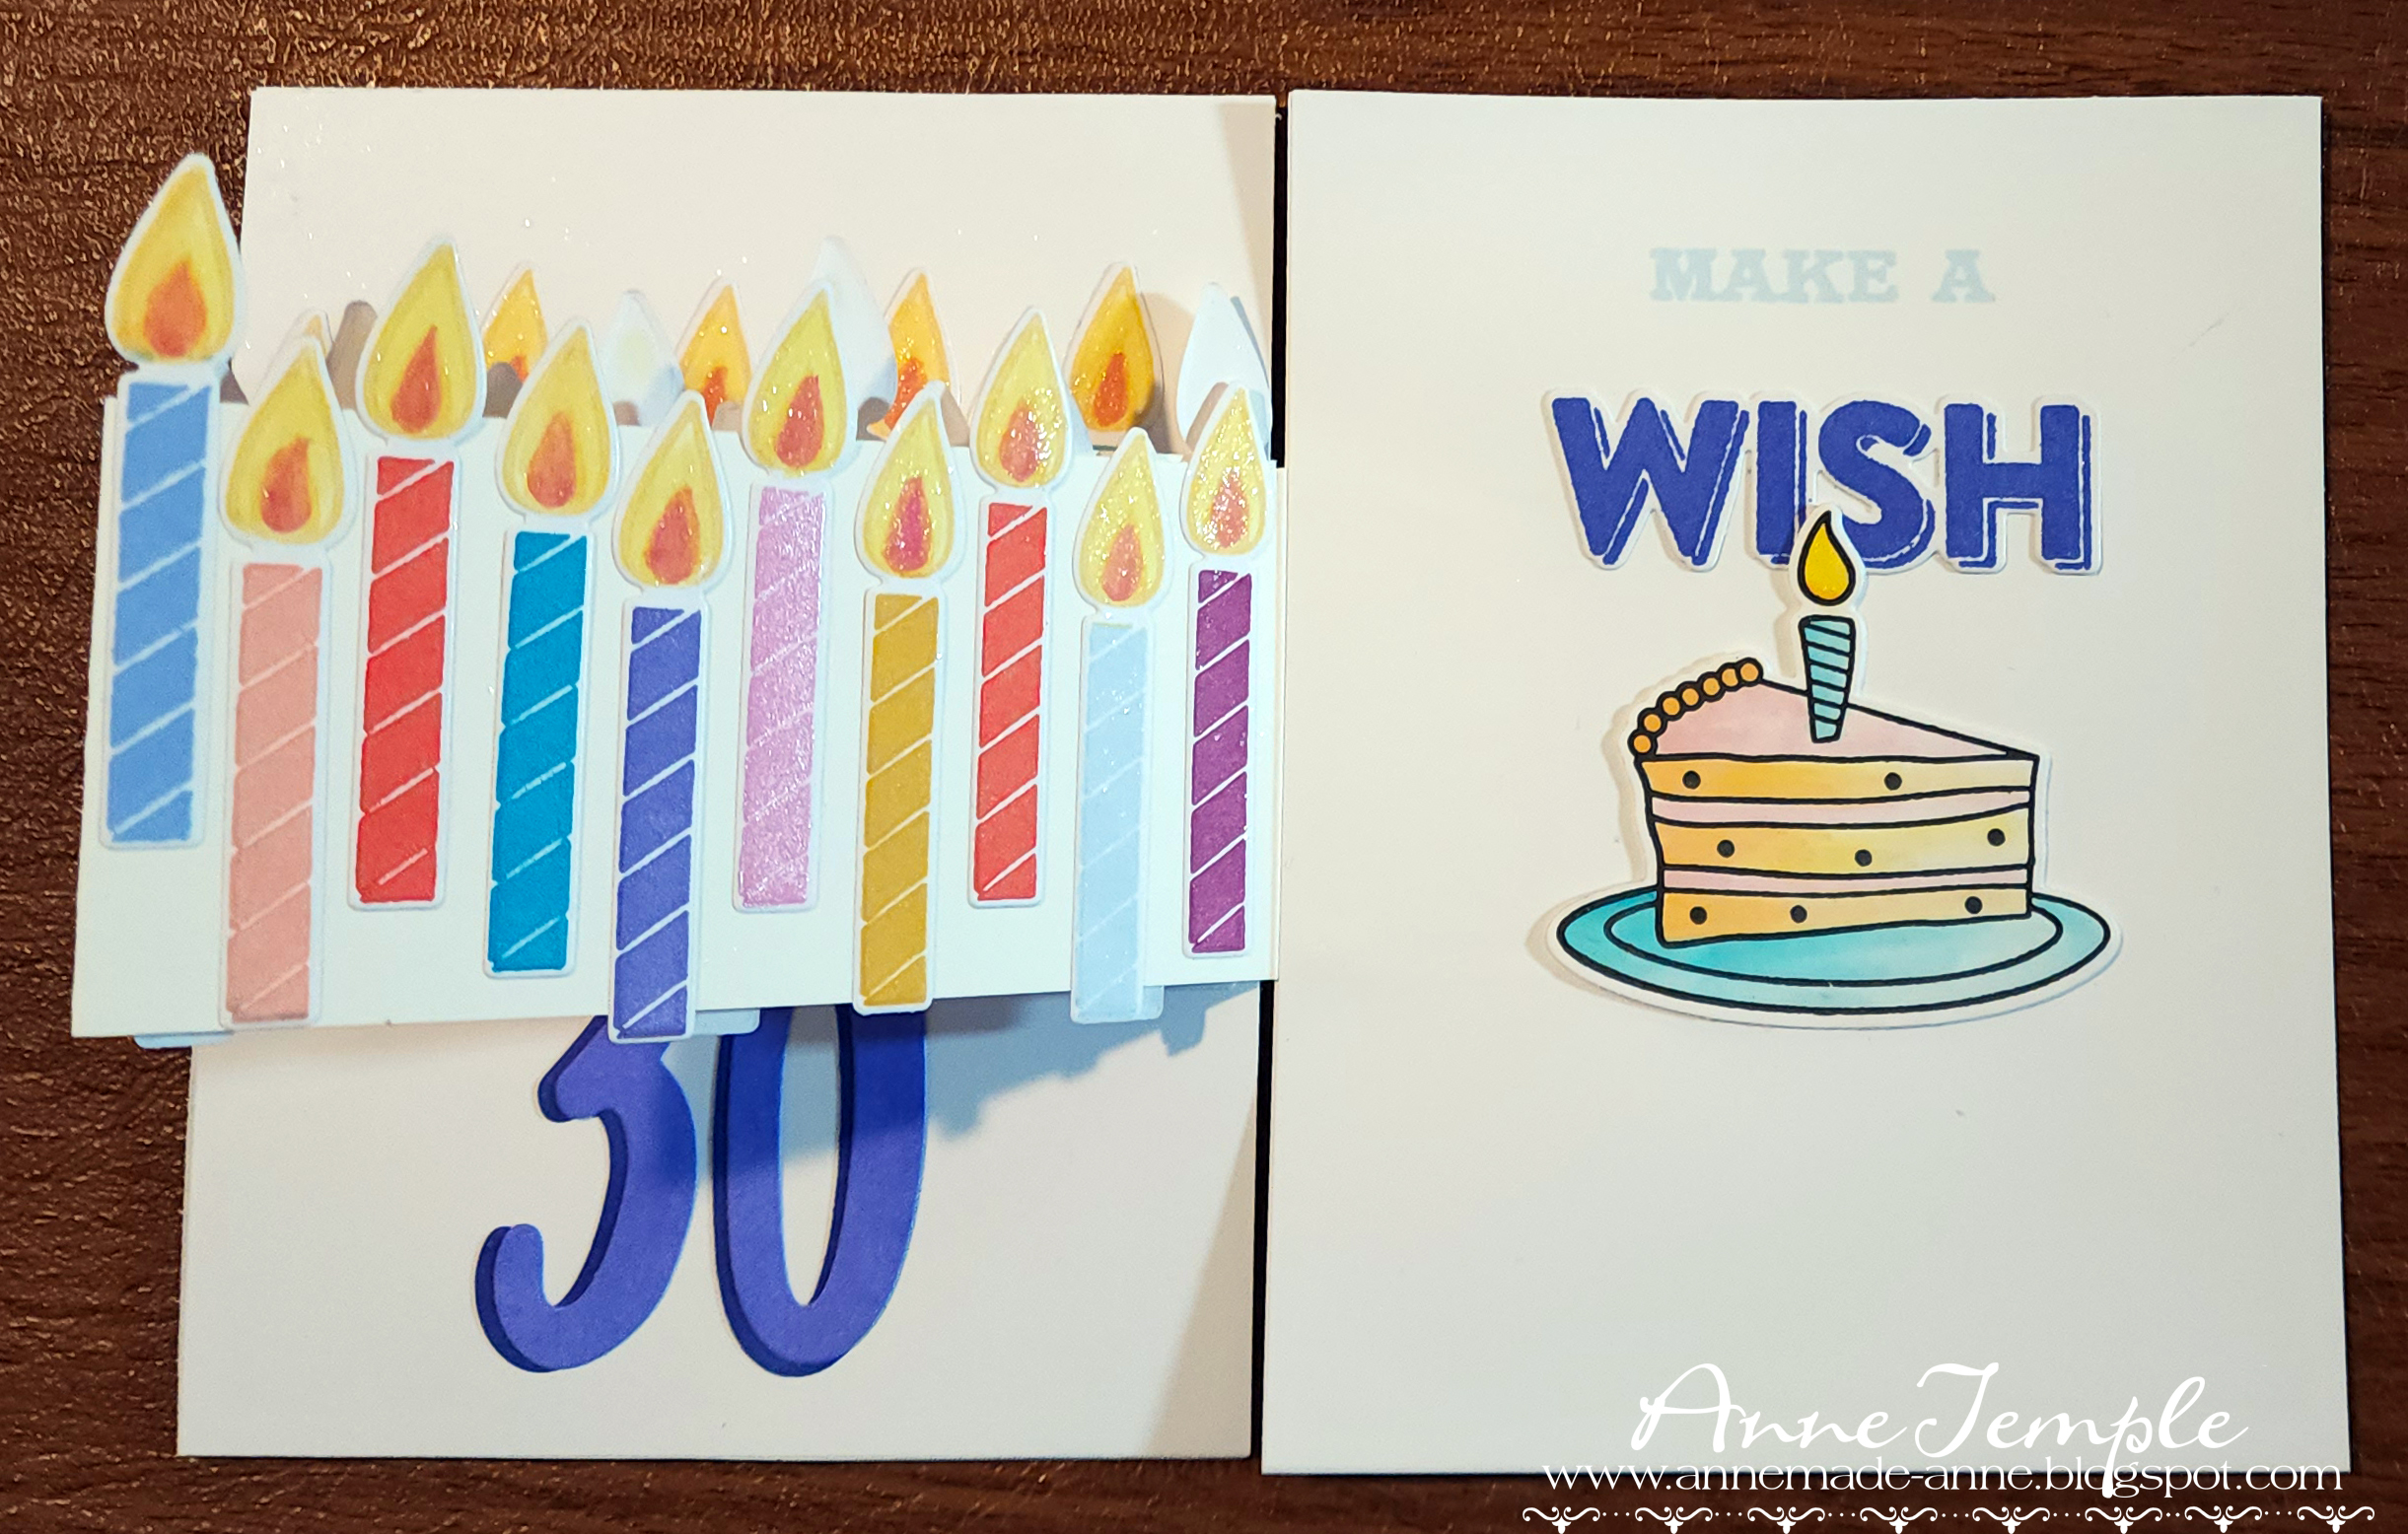
Retro Birthday Pull-Apart Card


Supplies used:

Altenew - Mid Century Festivities die set; Mid Century Festivities layering stamp set; Mid Century Cover die

Honey Bee - Inside: Birthday (sentiment on front of card)

My Favorite Things - Potted Plants; Cat and Plant Perches

Hero Arts - Yay Birthday

Crafter's Companion - Happy Birthday (numbers)

I got the idea of creating an accordion card using the birthday candles as the bridge from my friend Bonnie. (She found the idea in one of her Facebook groups.)


Until next time,


Wednesday, December 21, 2022

Fairy Hugs/Create and Craft show

Fairy Hugs December show on Create and Craft airs today and will be available to rewatch for the next 60 days. Below are the projects I've created using the stamps that will be showcased on the shows. All are available now at Fairy Hugs.


Fairy Flower - FHS-252
Bonnie - FHS-246
Stardust magic - FHS-196
Petalshimmer Paper Pad

Fairy Liana - FHS306
Love Birds - FHS-341
Fox Den - FHS-186
Fern Leaves - FHS-050
Petalshimmer paper pad


Party Streamers - FHS-266

Cirlig - FHS-125
Wild Roses - FSH-351
Bridge - FSH-039
Woody stencil - FH-STEN-03
Petalshimmer paper pad

Oscar - FHS-003
Row Boat - FHS-141
Frilly Seaweed - FHS-156
Raphael - FHS-015
Net - FHS-008
Pebble Beach stencil - FH-STEN-04

Happy Moon - FHS-022
Fireworks - FHS-240
Rooftops - FHS-284

Lola - FHS254
Winston - FHS-255
Ania's Tree - FHS-140
Fairy Dwellers - FHS-385
Fairy Flower Accessories - FHS-253

Fairy Poem - FHS-135
Snail Library - FHS-321

Cara - FHS-333
Magical Key - FHS-348
Heart Vines - FHS-327
Petalshimmer paper pad


Until next time.....


Friday, November 18, 2022

Fairy Hugs/Create and Craft: Favorites

 Fairy Hugs will be on the Create and Craft channel today showcasing some of our all time favorites.  Here are the projects I've made for this event.


Stream Scene - FHS-071
Clouds - FHS-061

Fairy Branches - FHS033
Fancy Birds - FHS-207
Birds Nest - FHS-179
Zippy - FHS-104
Fairy Scapes Slimline Savannah cardstock

Estrella - FHS-105
Dotted Mushrooms - FHS-112
Wild Mushrooms - FHS-073
Forest Steps - FHS064
Fairy Scapes Slimline Moon Light Night cardstock

Sunken Ship - FHS-004
Tentacles - FHS147
Seahorses - FHS-007
Fish School - FHS-158
Fairy Hugs Petal Shimmer paper pad

Water Fountain - FHS123
Peony - FHS-436
Mini Dancing Mushrooms - FHS052
Butterflies - FHS316
Grass - FHS114

Dancing Mushrooms - FHS-017
Loretta - FHS-307
Woodland Mushrooms - FHS-392
Magical Hollow - FHDIE-004
FH Petal Shimmer paper pad

Ciana - FHS043

Until next time....


Wednesday, October 26, 2022

Cat Lovers Blog Hop

 Fairy Hugs is a sponsor this year for the Cat Lovers Blog Hop.  This event will be October 26 - 29. Be sure to check out the side bar for a list of all the amazing sponsors!

Here is the project I created for it. It incorporates a bunch of different die companies (listed below) and Ed and Nala from Fairy Hugs. 

Ed - FHS250
Nala - FHS251

Ed - FHS250
Nala - FHS251

Ed - FHS250
Nala - FHS251


The dies that were used are Lawn Fawn (Platform Pop Up), Dee's Distinctively (Mini Stars, Mini Decorations), Spellbinders (Christmas Tree). and My Favorite Tings (Gifts Galore).


Be sure to enter the Cat Lovers Blog Hop for a chance to win one of their prizes.


Until next time....